Cloud-hosted version
Build a complete AI workspace with enterprise-grade security
Set up your team's AI workspace in minutes on our secure cloud platform
Trusted by the world's top organizations across industries


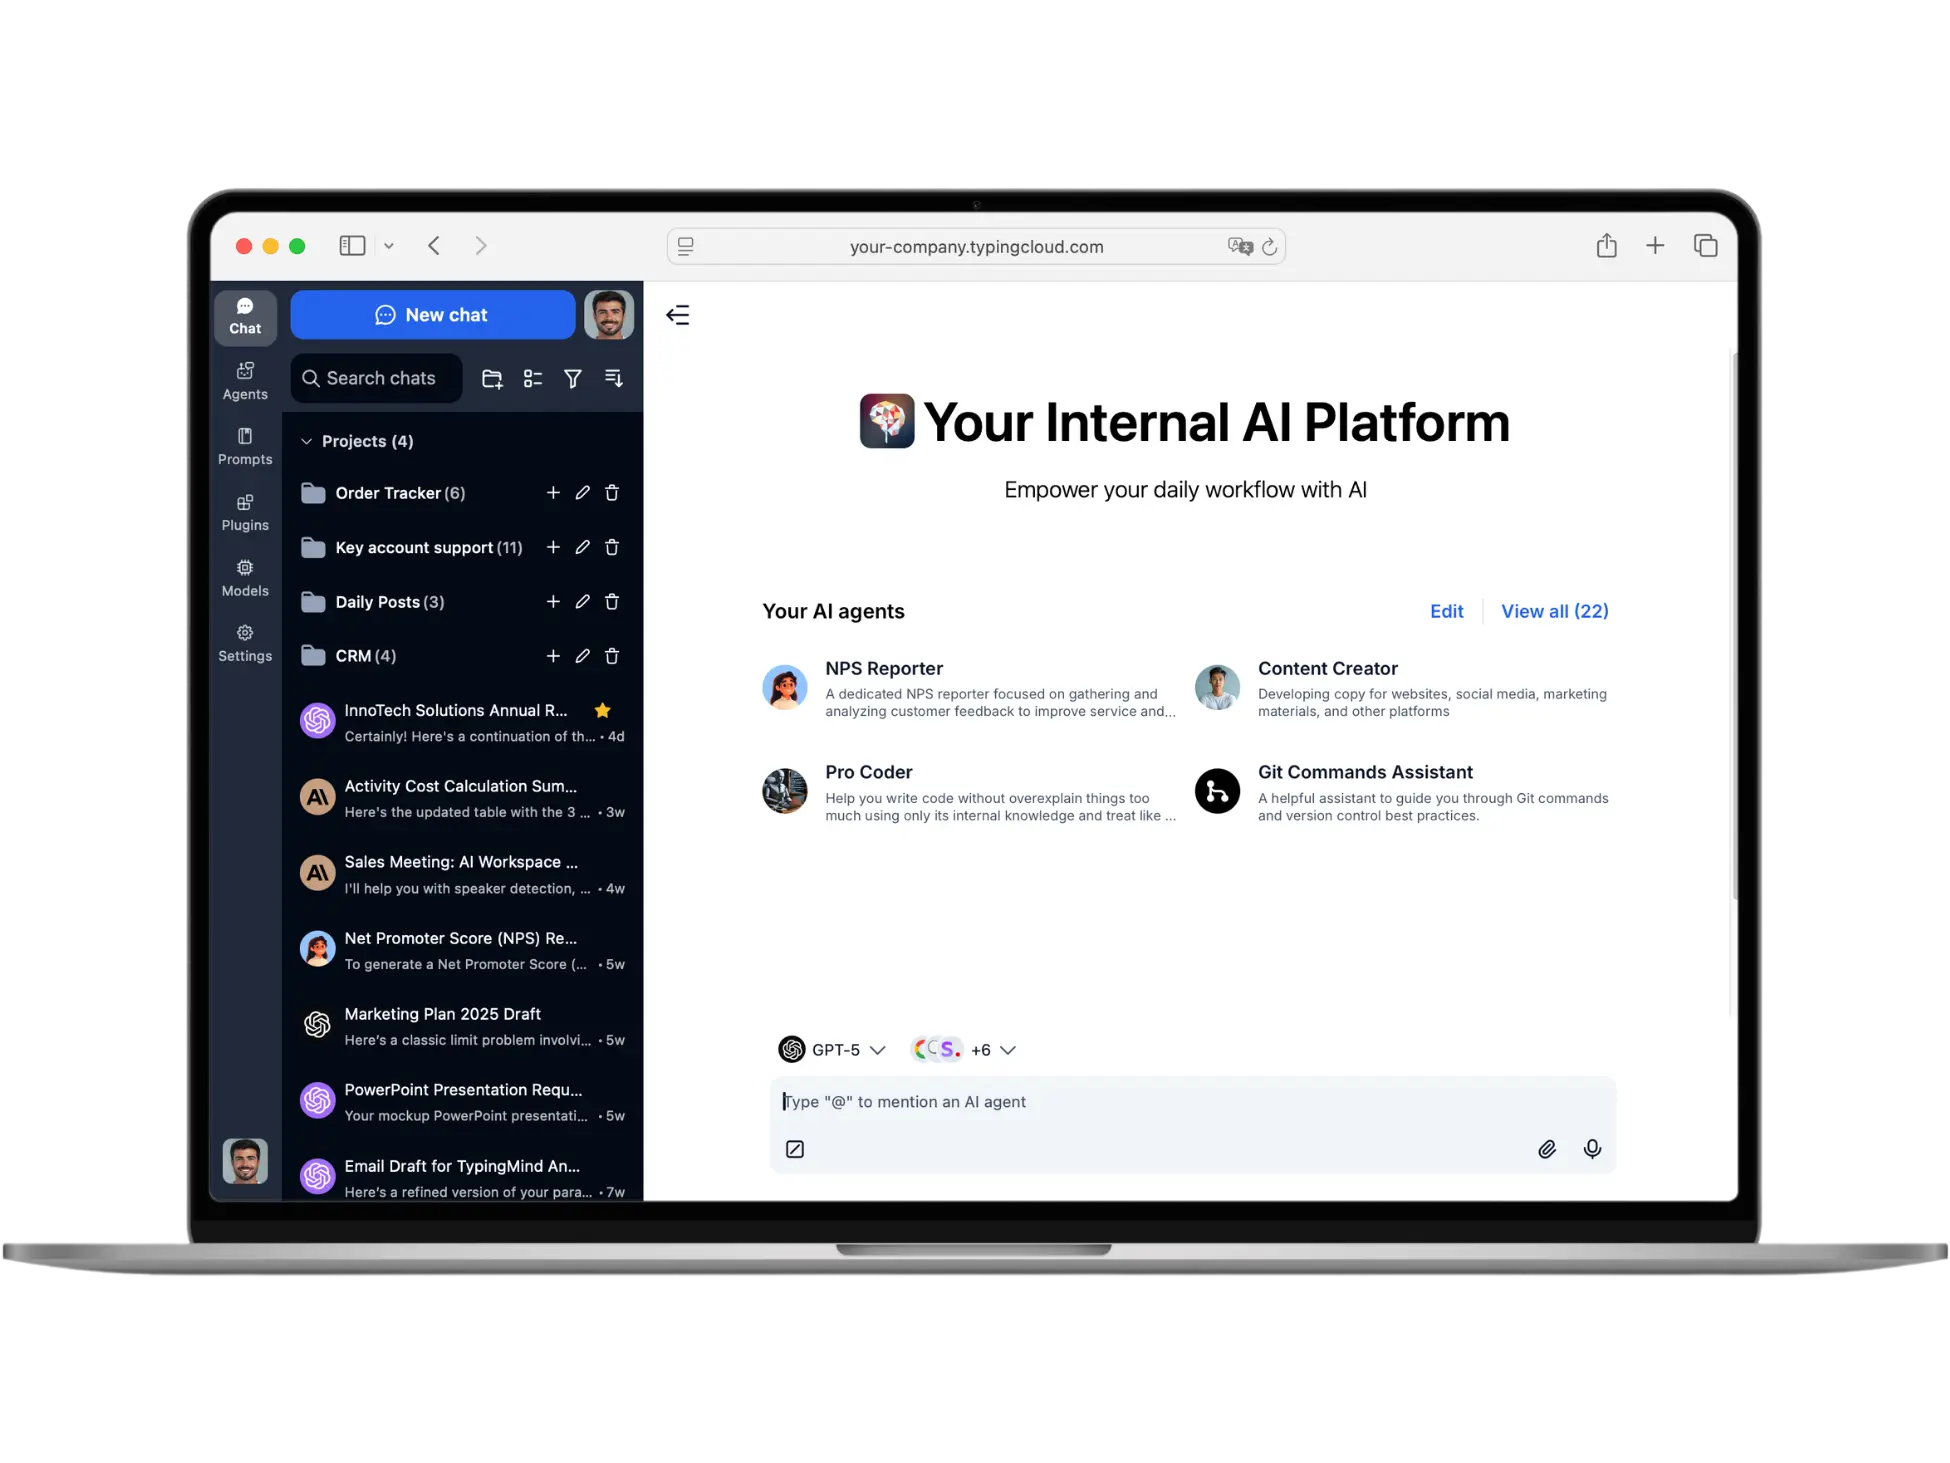
A collaborative AI workspace under your brand name
Just 4 simple steps to set up a centralized generative AI platform, customize it, and connect it to your data sources and plugins
Create your AI workspace in minutes
Sign up and get your custom-branded chat instance with your domain, complete with admin controls and user management.
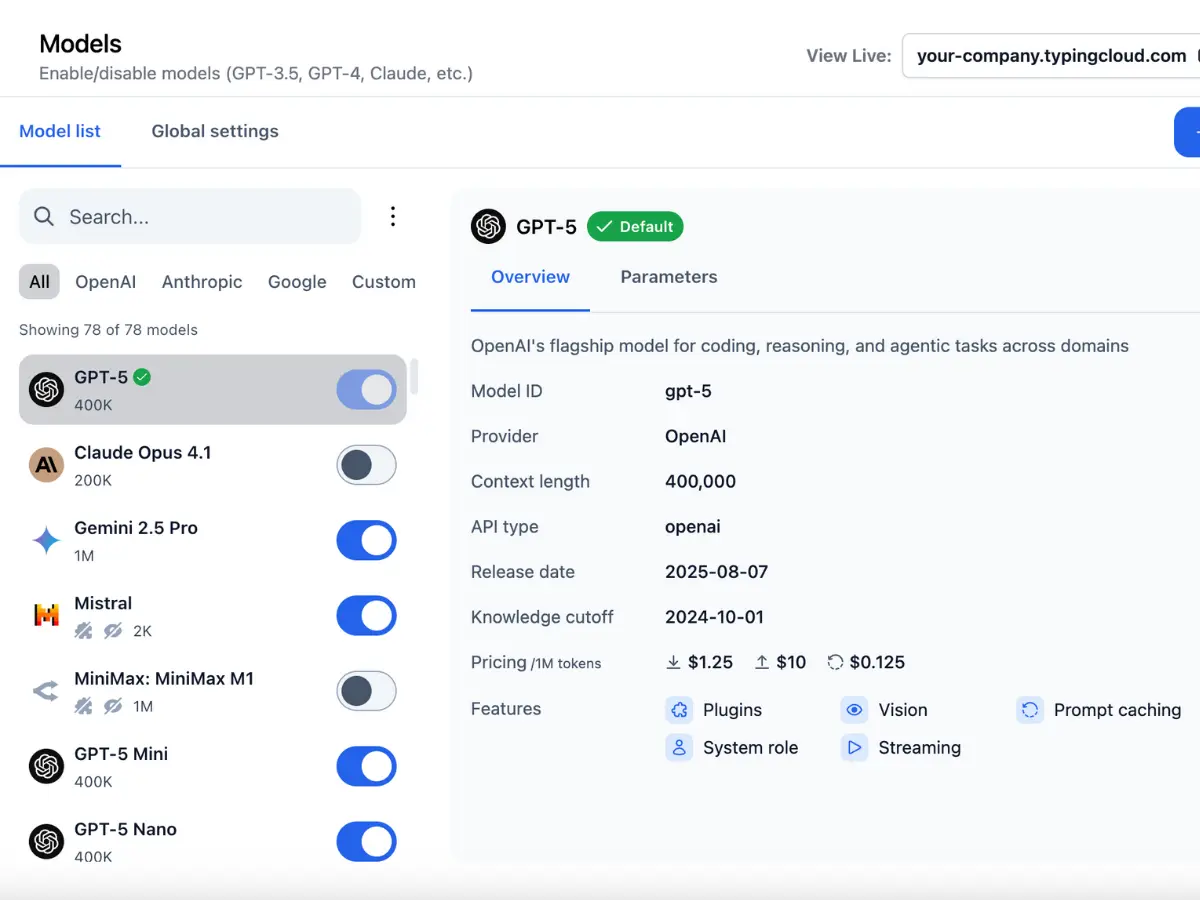
Add your AI models
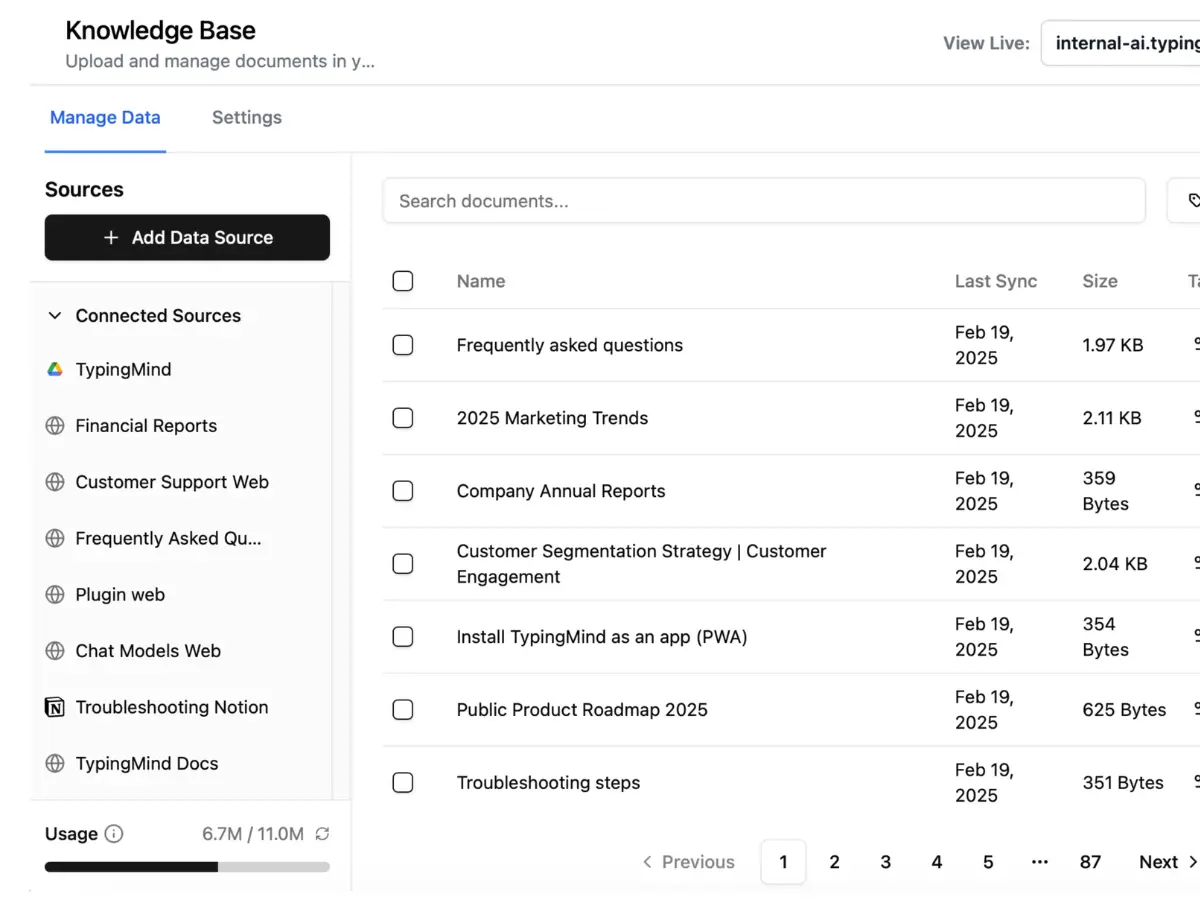
Connect your knowledge base
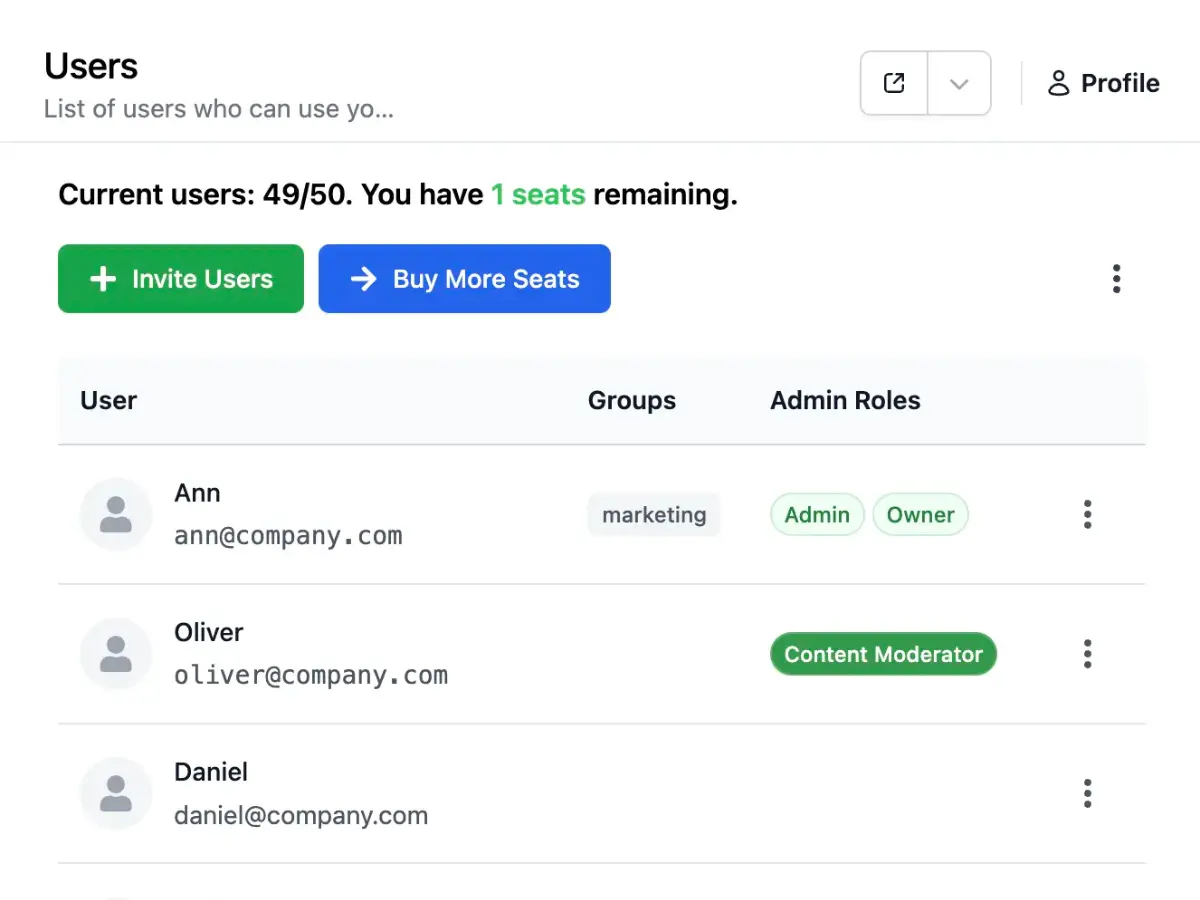
Invite your team and start collaborating
Company leaders trust us

Jean-Daniel Tanguay
Co-founder & CEO at Eugeniuses
TypingMind was a top choice for us, because of its powerful AI plugin capabilities.
Since implementing TypingMind, we've seen a 60% reduction in development time and a 90% improvement in code accuracy . Additionally, our overall team's productivity has increased a LOT, allowing us to take on more projects and deliver them faster.
Michael Rohrmueller
CEO at PixelMechanics
The main drivers for choosing TypingMind were the flexible cost (only actual API usage needed to be paid) as well as the data and messages sent via API not being used for model training by OpenAI.
TypingMind has become an integral part of our daily operations at PixelMechanics. We are using it to give our team access to the latest AI models to optimize their workflow.


Karla Congson
CEO & Founder at Agentiiv
Typing mind is an excellent product. I've been using Typing Mind Custom for nearly a year and have my extended team as members. [...]
The product provides leading edge capabilities to create a custom UI for your agents and prompts - it has advanced options that allow you to select different LLM Models, provide multi-modal capabilities, include APIs and RAG (knowledge files).
The customer service is excellent and highly responsive. [...] In my opinion it is a superior alternative to GPT Teams with full privacy and extended capabilities. I highly recommend!

Drew Colthorp
Software Development Practice Lead at Atomic Object
TypingMind has given us a great, consistent UI for LLM use across the various models, including OpenAI, Anthropic, Google, Meta, Mistral, and Perplexity. The tools built into TypingMind including AI Agents, the ability to fork conversations, file upload, and more enable consultants to experiment with different workflows and compare results from across different models.
It’s worked really well for our intended use cases. [...] Way more performant, capable, and nice to use.

Roland Priborsky
CEO at Nionium Inc
Typingmind - A super advanced AI interface
TypingMind is a state of the art user interface for generative AI. I have been using it every day since I stumbled upon it a year ago.
If you are into AI and want to bring your interaction to a completely new level, you should give it a try.


Graydon T.
Founder
I seriously think TypingMind is one of the most valuable pieces of software that I've used in as long as I can remember. It's incredibly powerful and flexible.
It allows me to centralize all my interactions with the different models. I really like the ability to setup my own prompts and profiles. There's almost no reason for me to use any other application to interact with all the models out there.
I recommend it enthusiastically to anyone working with all the different LLMs and every one of them that follows my advice loves using it.
I am about to switch to the custom version so I can get everyone on my team using it.
Full-featured AI platform for your team
Everything you need to build, deploy, and manage AI solutions for your team in one comprehensive platform
Multiple LLMs
Flexible AI model integration with no vendor lock-in and support for major cloud providers.
- Chats not used for training
- No LLM vendor lock-in
- Azure OpenAI, AWS Bedrock, GCP
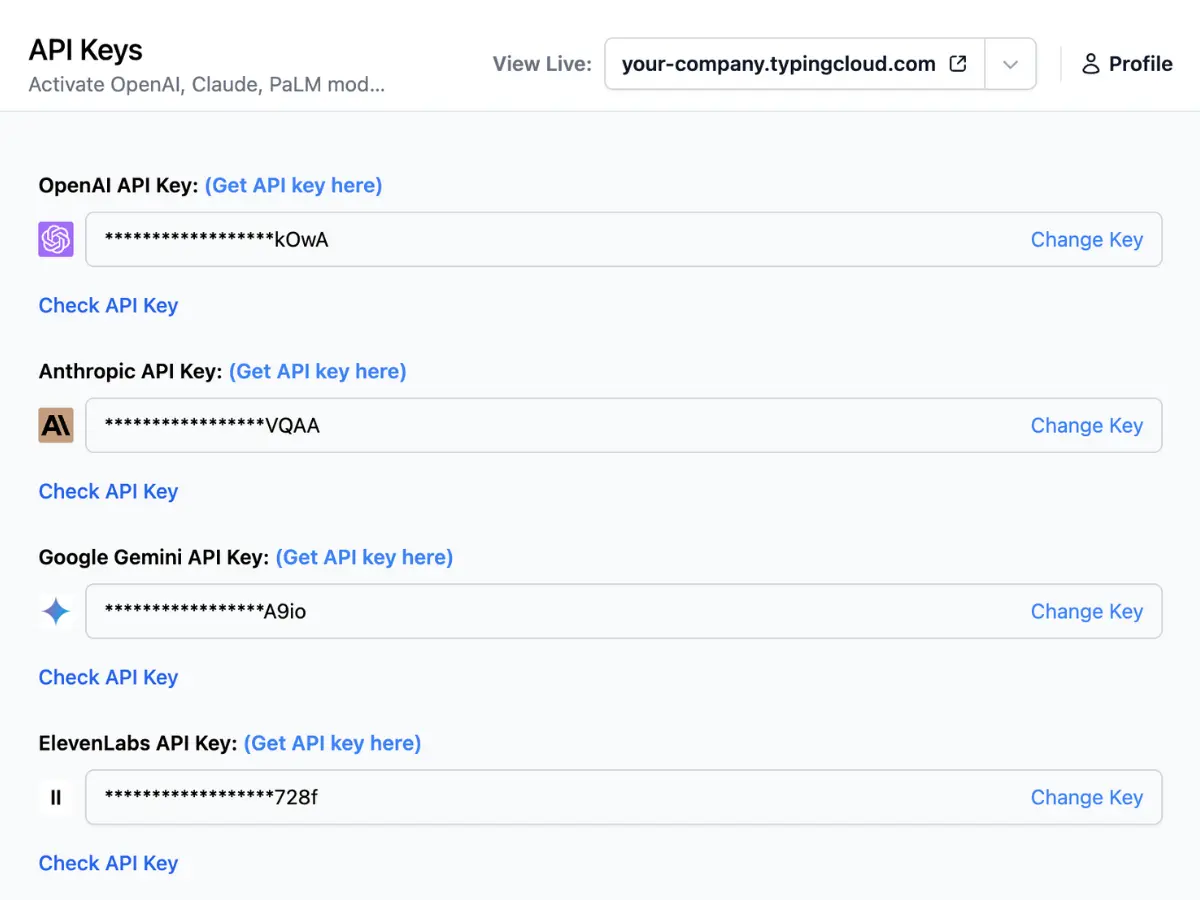
- Use your own API keys
- 20+ models supported
- Use open-source models

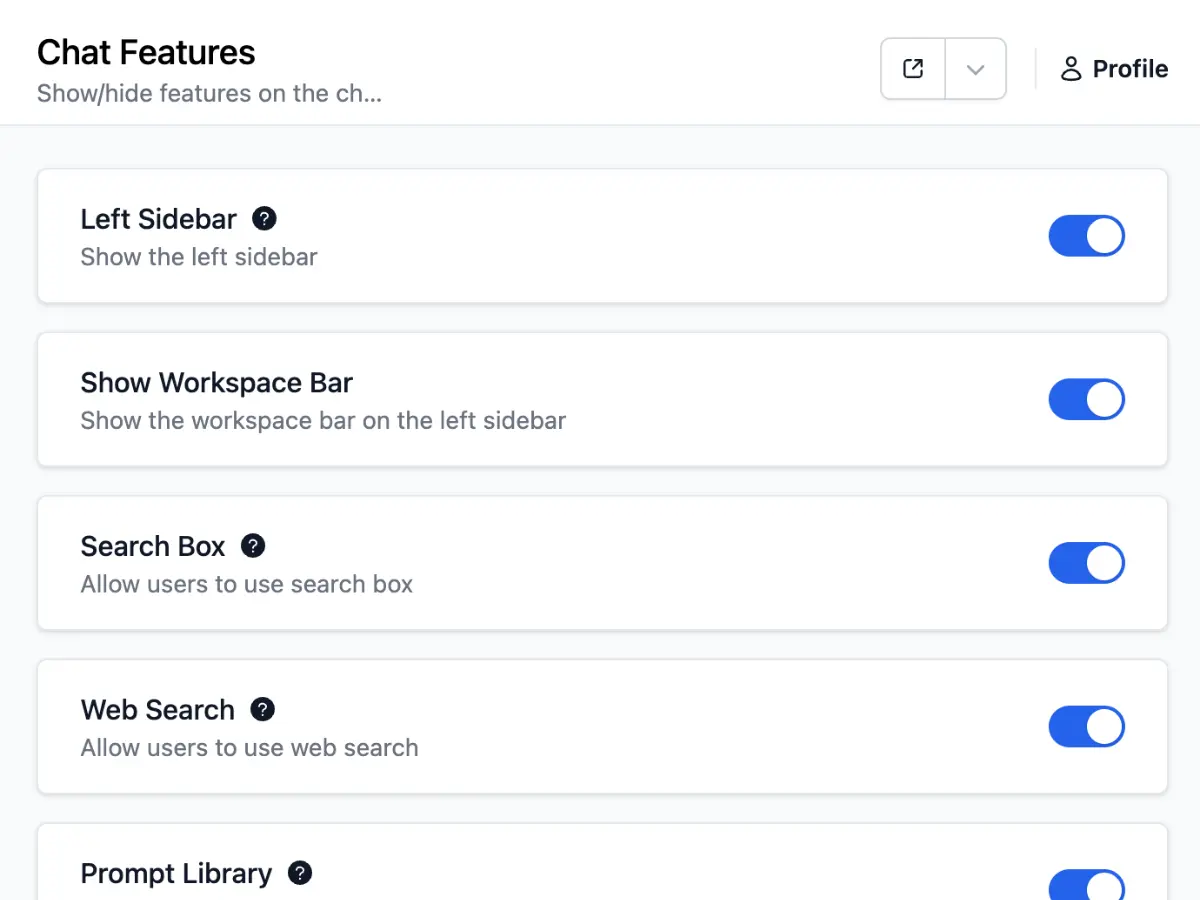
Customizable end-user interface
Feature-rich chat interface with advanced capabilities for enhanced productivity. Customize everything to meet your business needs.
- Chat with documents
- Canvas Editor
- Artifacts
- Project Folders
- Text-to-speech / Voice input
- Web Search, Vision, DALL-E
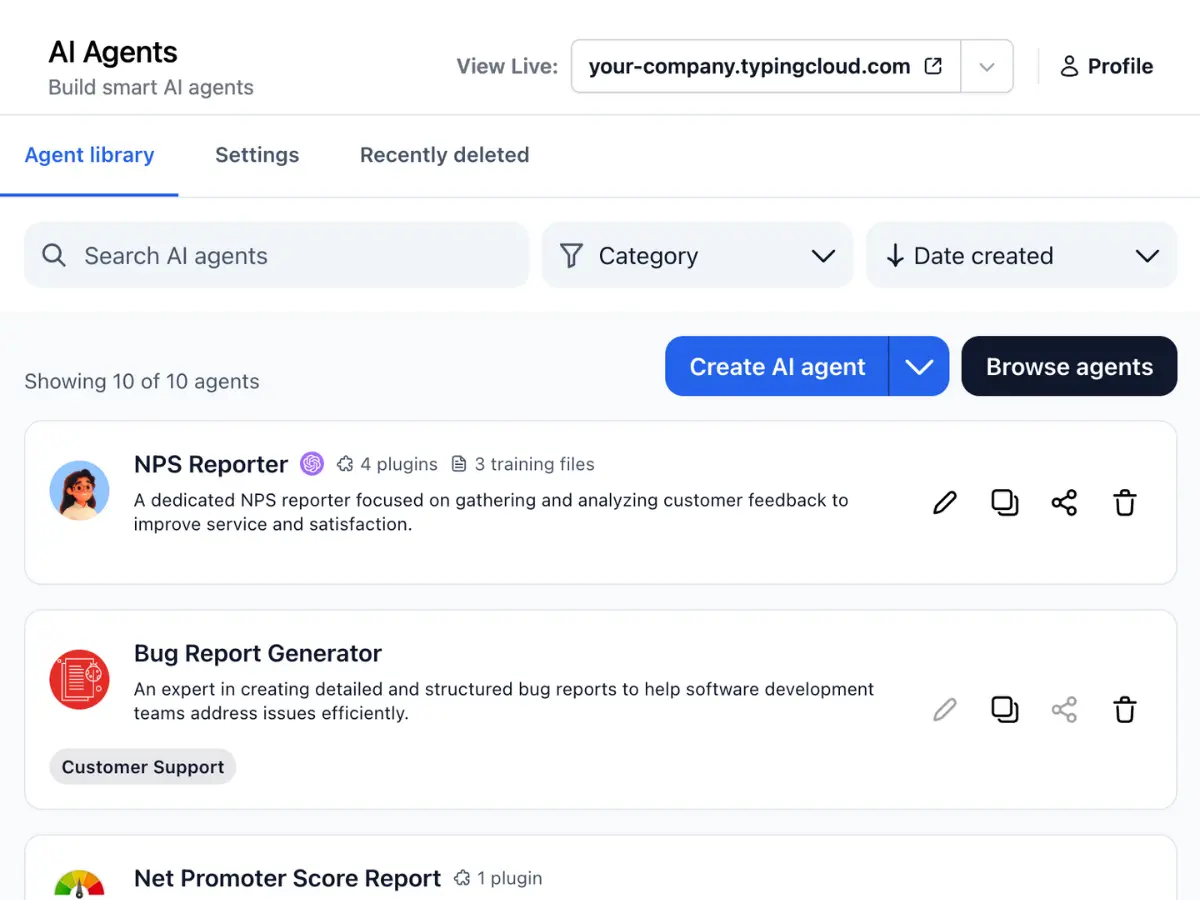
AI agent builder
Comprehensive AI agent system with pre-built specialists and custom development capabilities.
- 50+ pre-built specialized AI agents
- Add skills using plugins (or build your own)
- Connect real-time data
- Prompt-chaining for multi-agent workflows
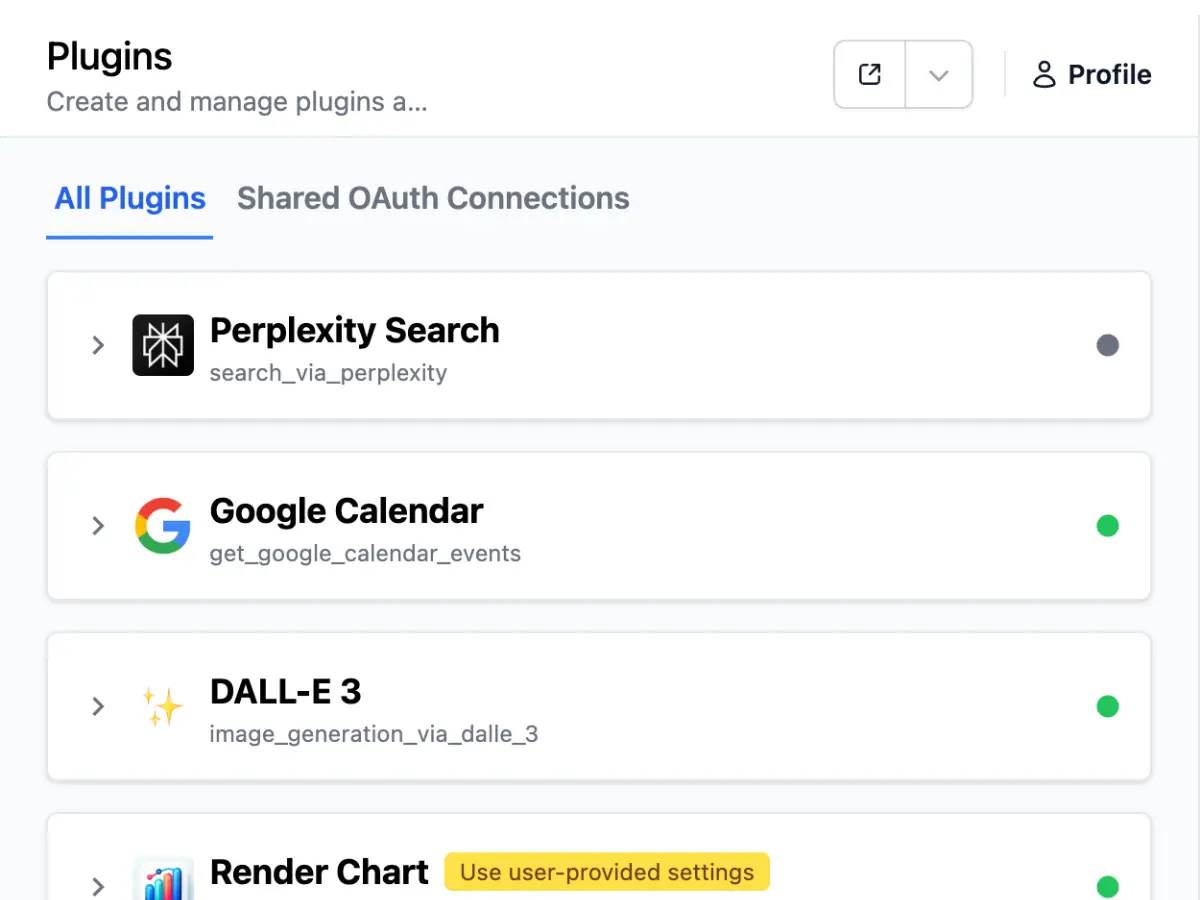
Integrations & plugins
Extensive integration ecosystem with built-in plugins and custom development options.
- 18 built-in plugins and integrations
- Model Context Protocol (MCP) support
- Build your own plugins in minutes (developer docs available)
- Programmatically access data via API
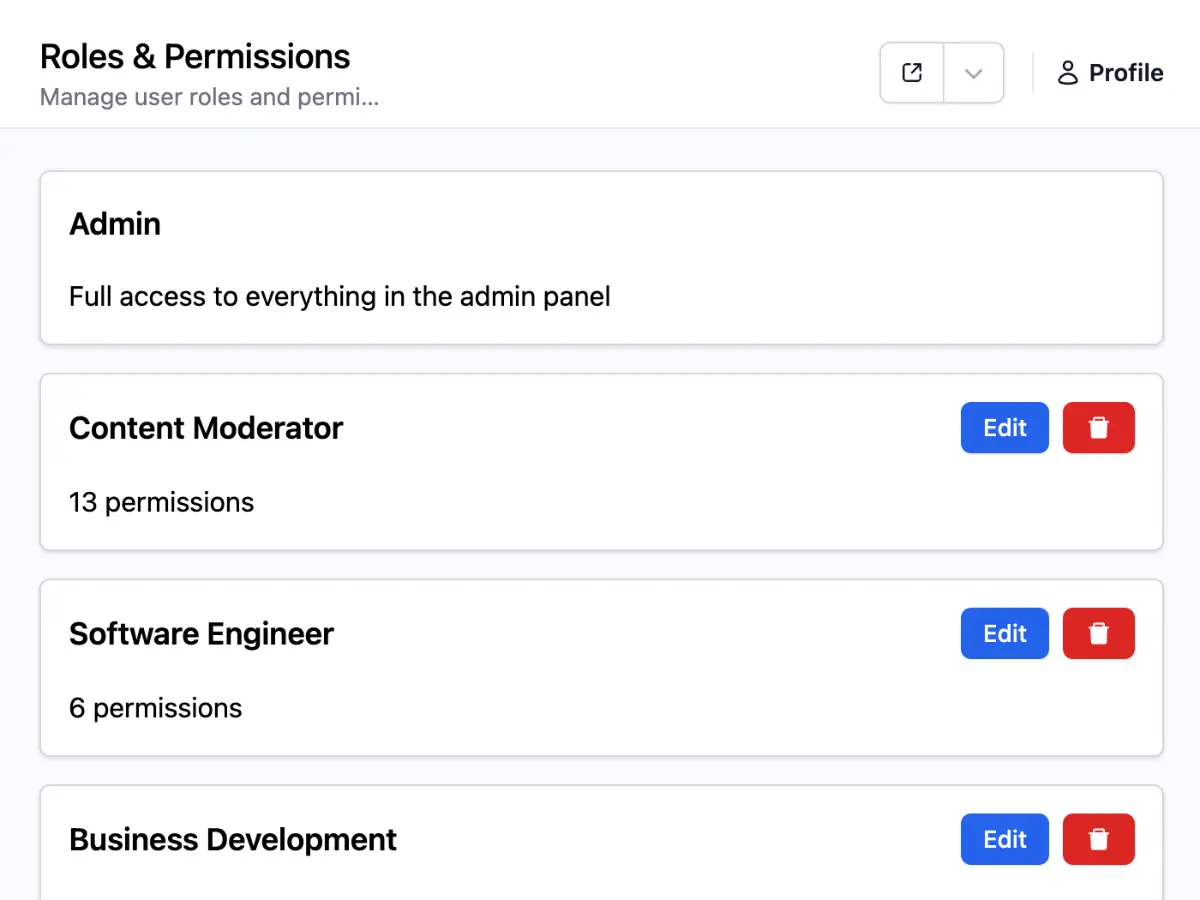
User management
Enterprise-grade user management with SSO, analytics, and comprehensive access controls.
- Single Sign-On (SSO), Directory Sync
- Role-based access control
- Usage limits per department
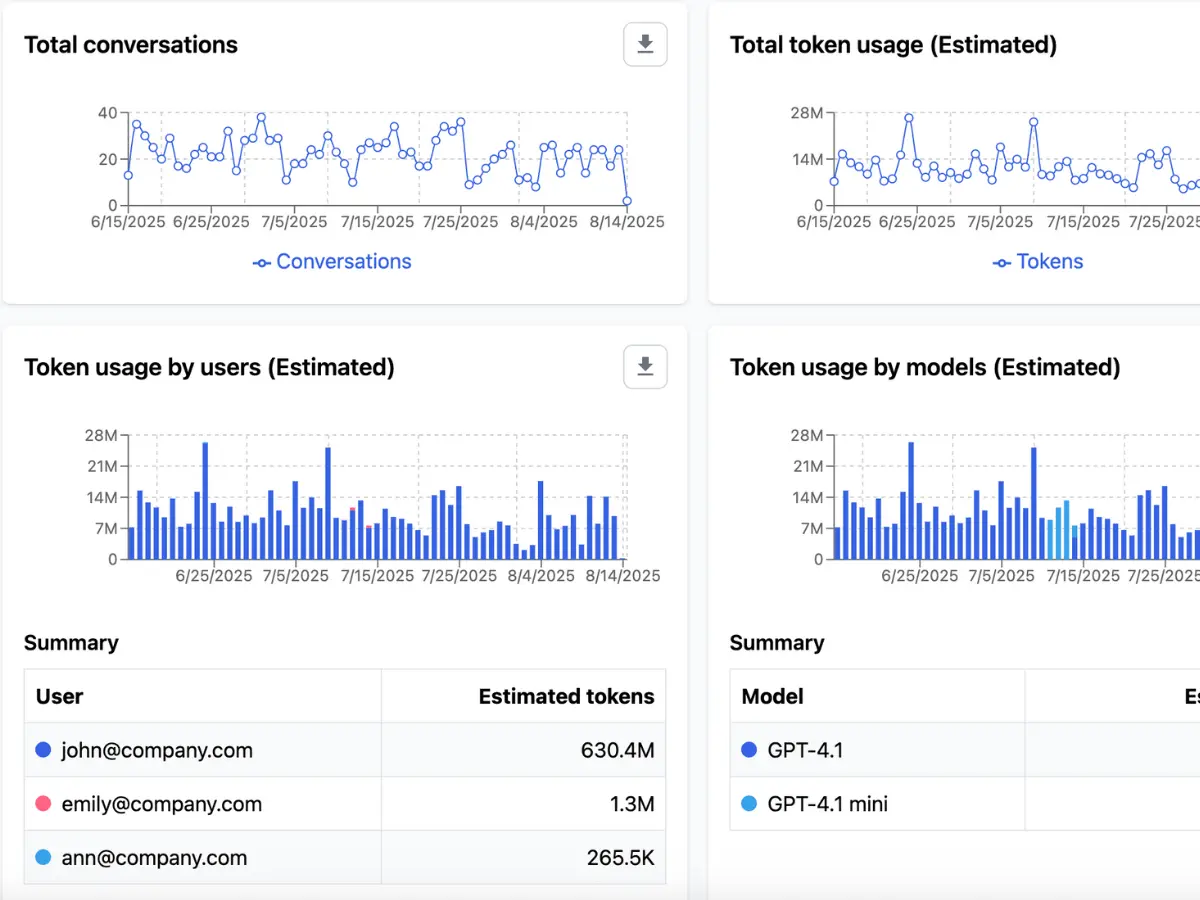
Logs & analytics
Track usage, monitor costs, review chat logs, and optimize your AI deployment.
- Analytics dashboard
- Email reports
- Audit logs
- Chat logs
Enterprise-gradesecurity & privacy
We take security and compliance seriously. TypingMind is SOC 2 Type II certified and GDPR compliant, trusted by thousands of businesses to build secure and compliant AI workspaces

Secure deployment options
Deploy on our secure cloud or self-host on your own infrastructure for full control.
Regional data storage
Select between data centers in the US or EU to meet your compliance and residency requirements.
Your data stays yours
Your data stays completely private and is never shared or used to train AI models.
Explore TypingMind's core features
Discover our core features for building, deploying, and managing AI solutions for your team in one comprehensive platform
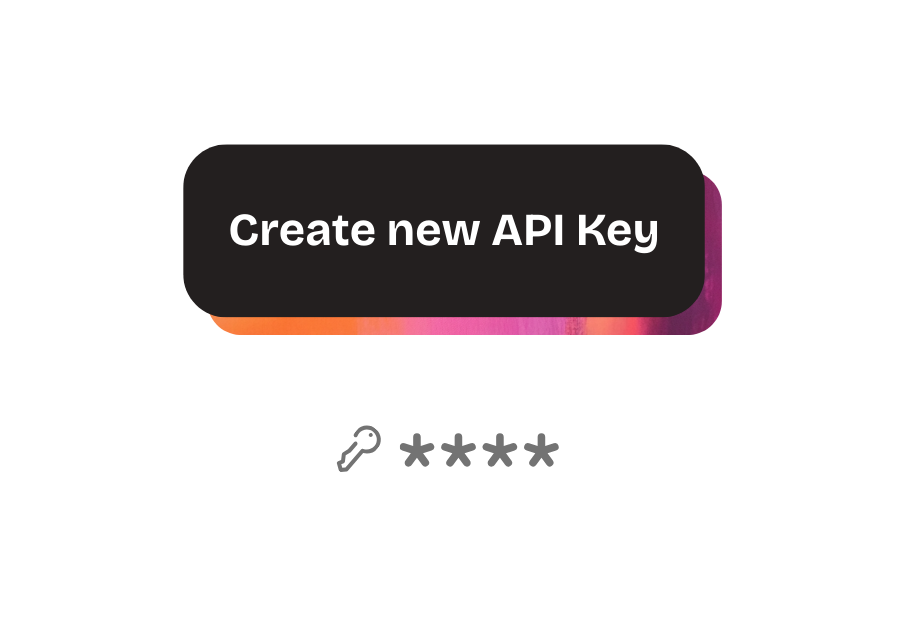
API integration for existing workflows
Seamlessly integrate TypingMind into your existing systems and workflows using our comprehensive API
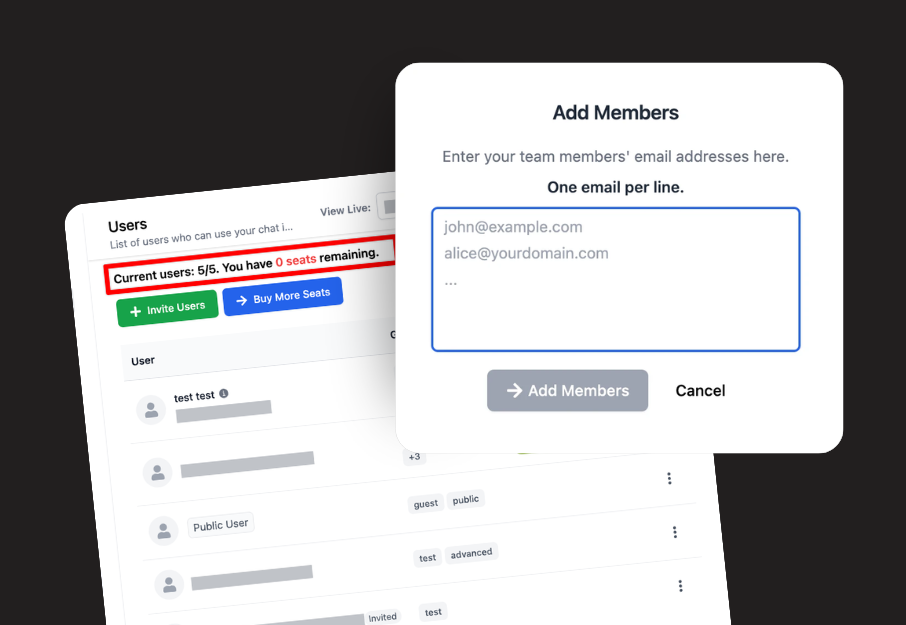
Manage seats and member roles
Efficiently manage team members with role-based permissions, seat allocation, and granular access controls for your AI workspace.

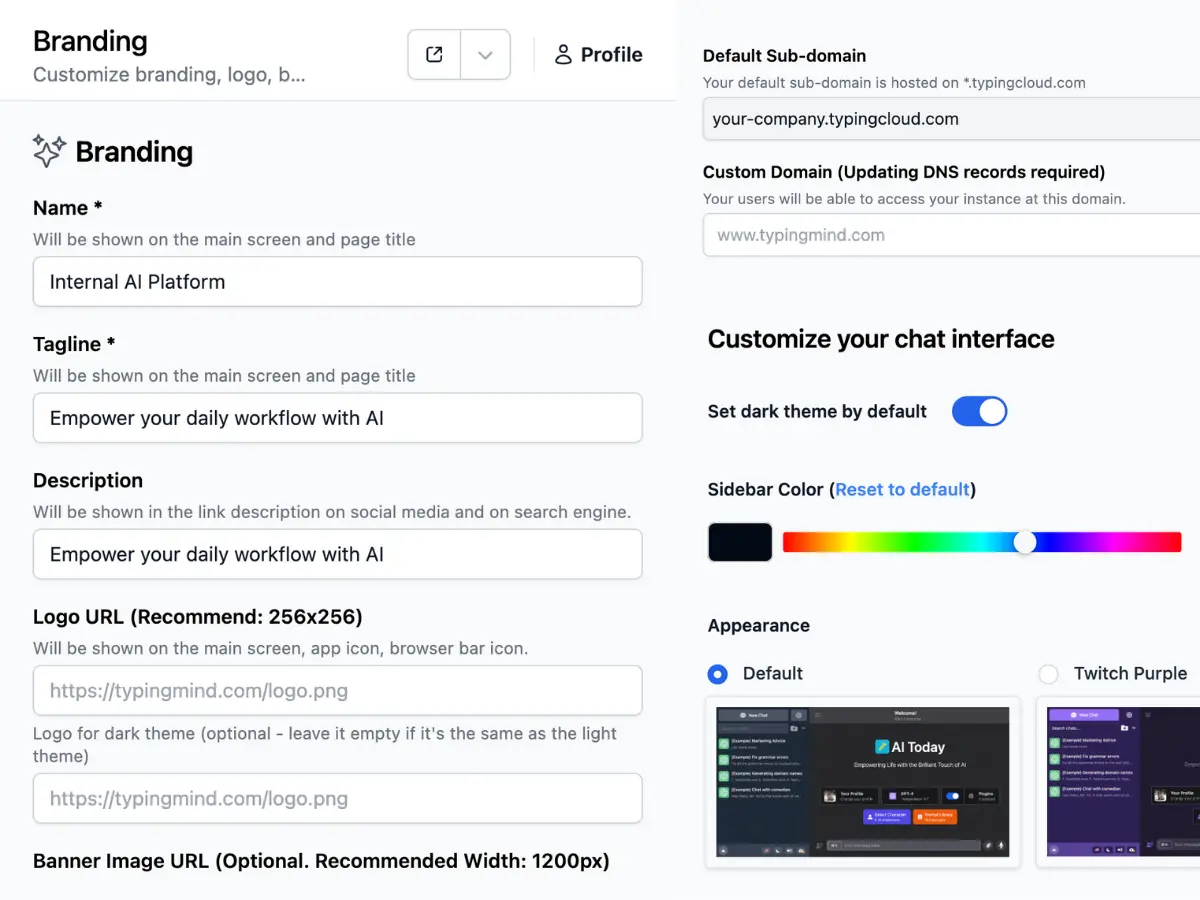
Custom brand your workspace
Personalize your AI workspace with custom branding, logos, colors, and domain to match your company identity.
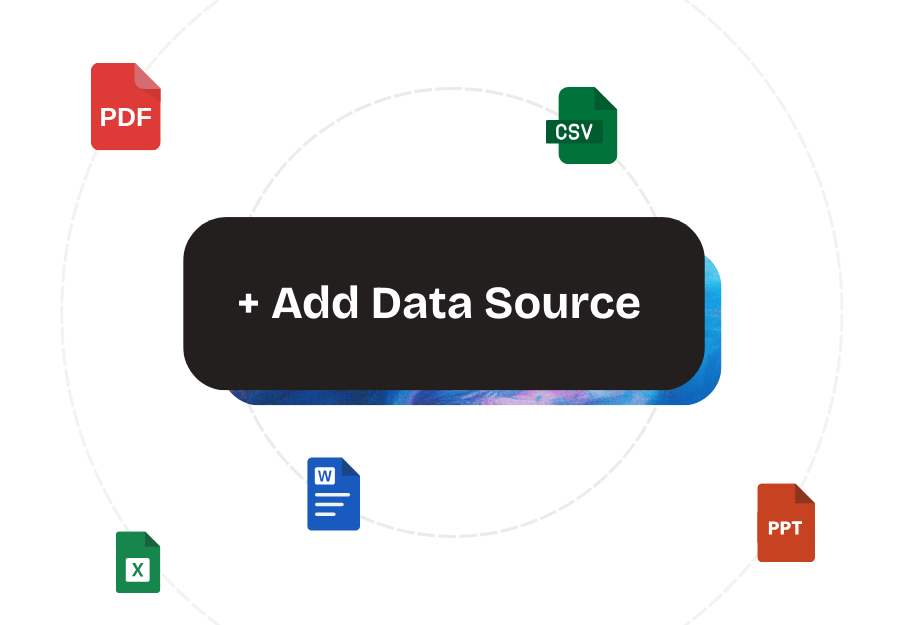
How the knowledge base works
Upload and integrate your company data from various sources like PDFs, CSVs, Notion, and more to train AI with your specific information.
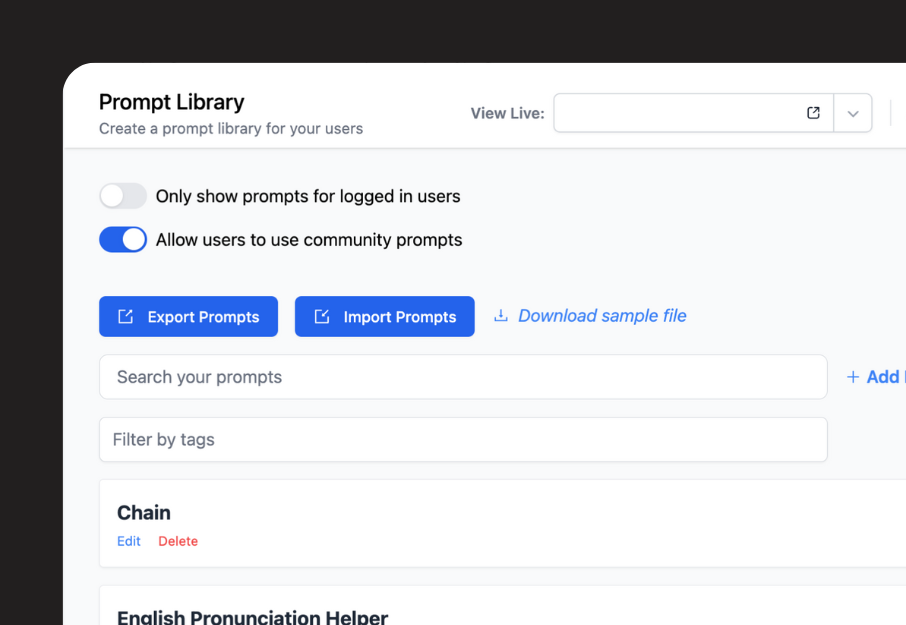
Build prompt libraries
Create and organize reusable prompt templates and libraries to standardize AI interactions across your team.
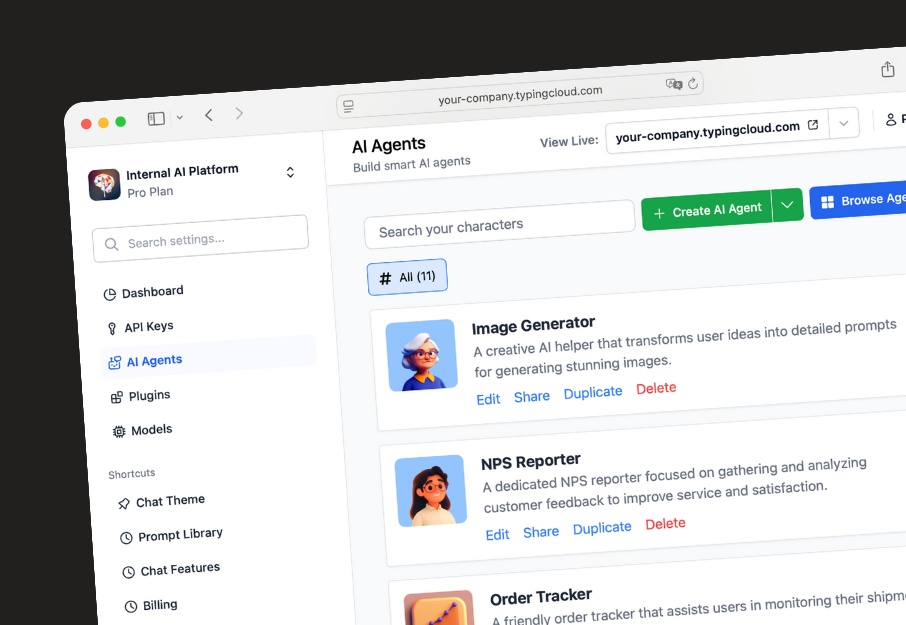
Build AI agents with custom data
Create specialized AI agents trained on your specific data and workflows to automate tasks and provide expert assistance.