Features
Invite Members
Managing seats and member roles in your chat instance

Managing seats and member roles in your chat instance is crucial for effective operation and control.
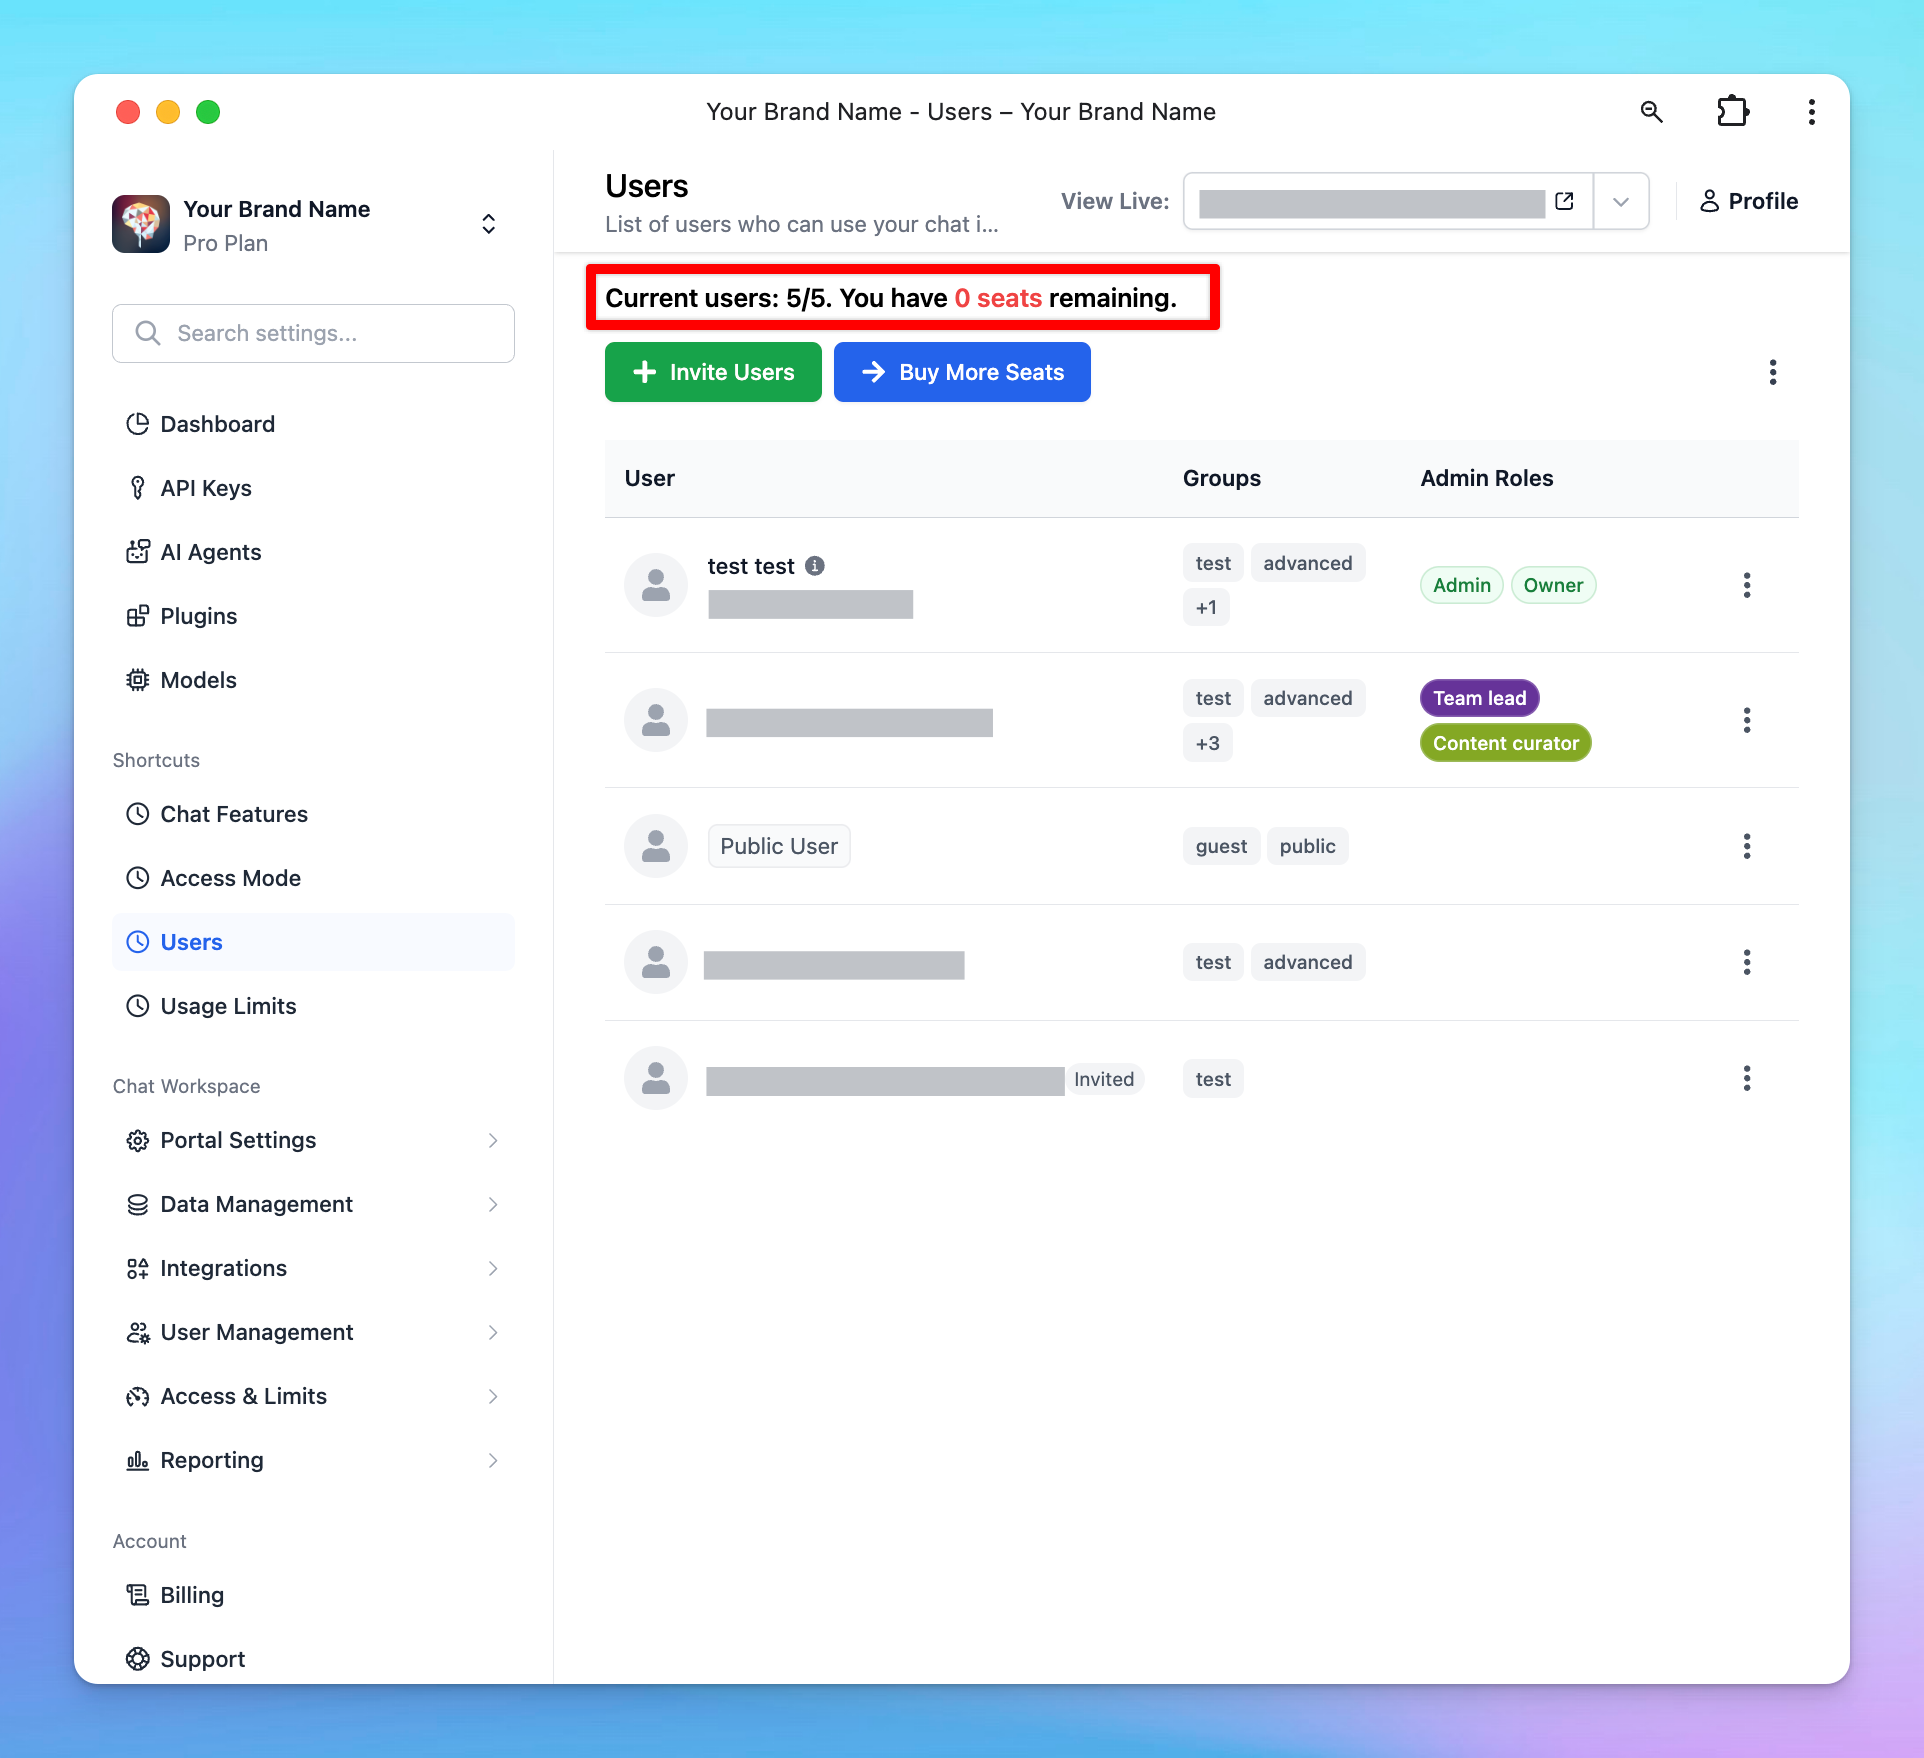
Available Seats in a Chat Instance
By default, each chat instance comes with default available seats (the number of seats varies in different plans). The instance owner, who is the creator of the chat instance, automatically occupies one seat. This leaves a certain number of additional seats that the owner can utilize to invite other members.
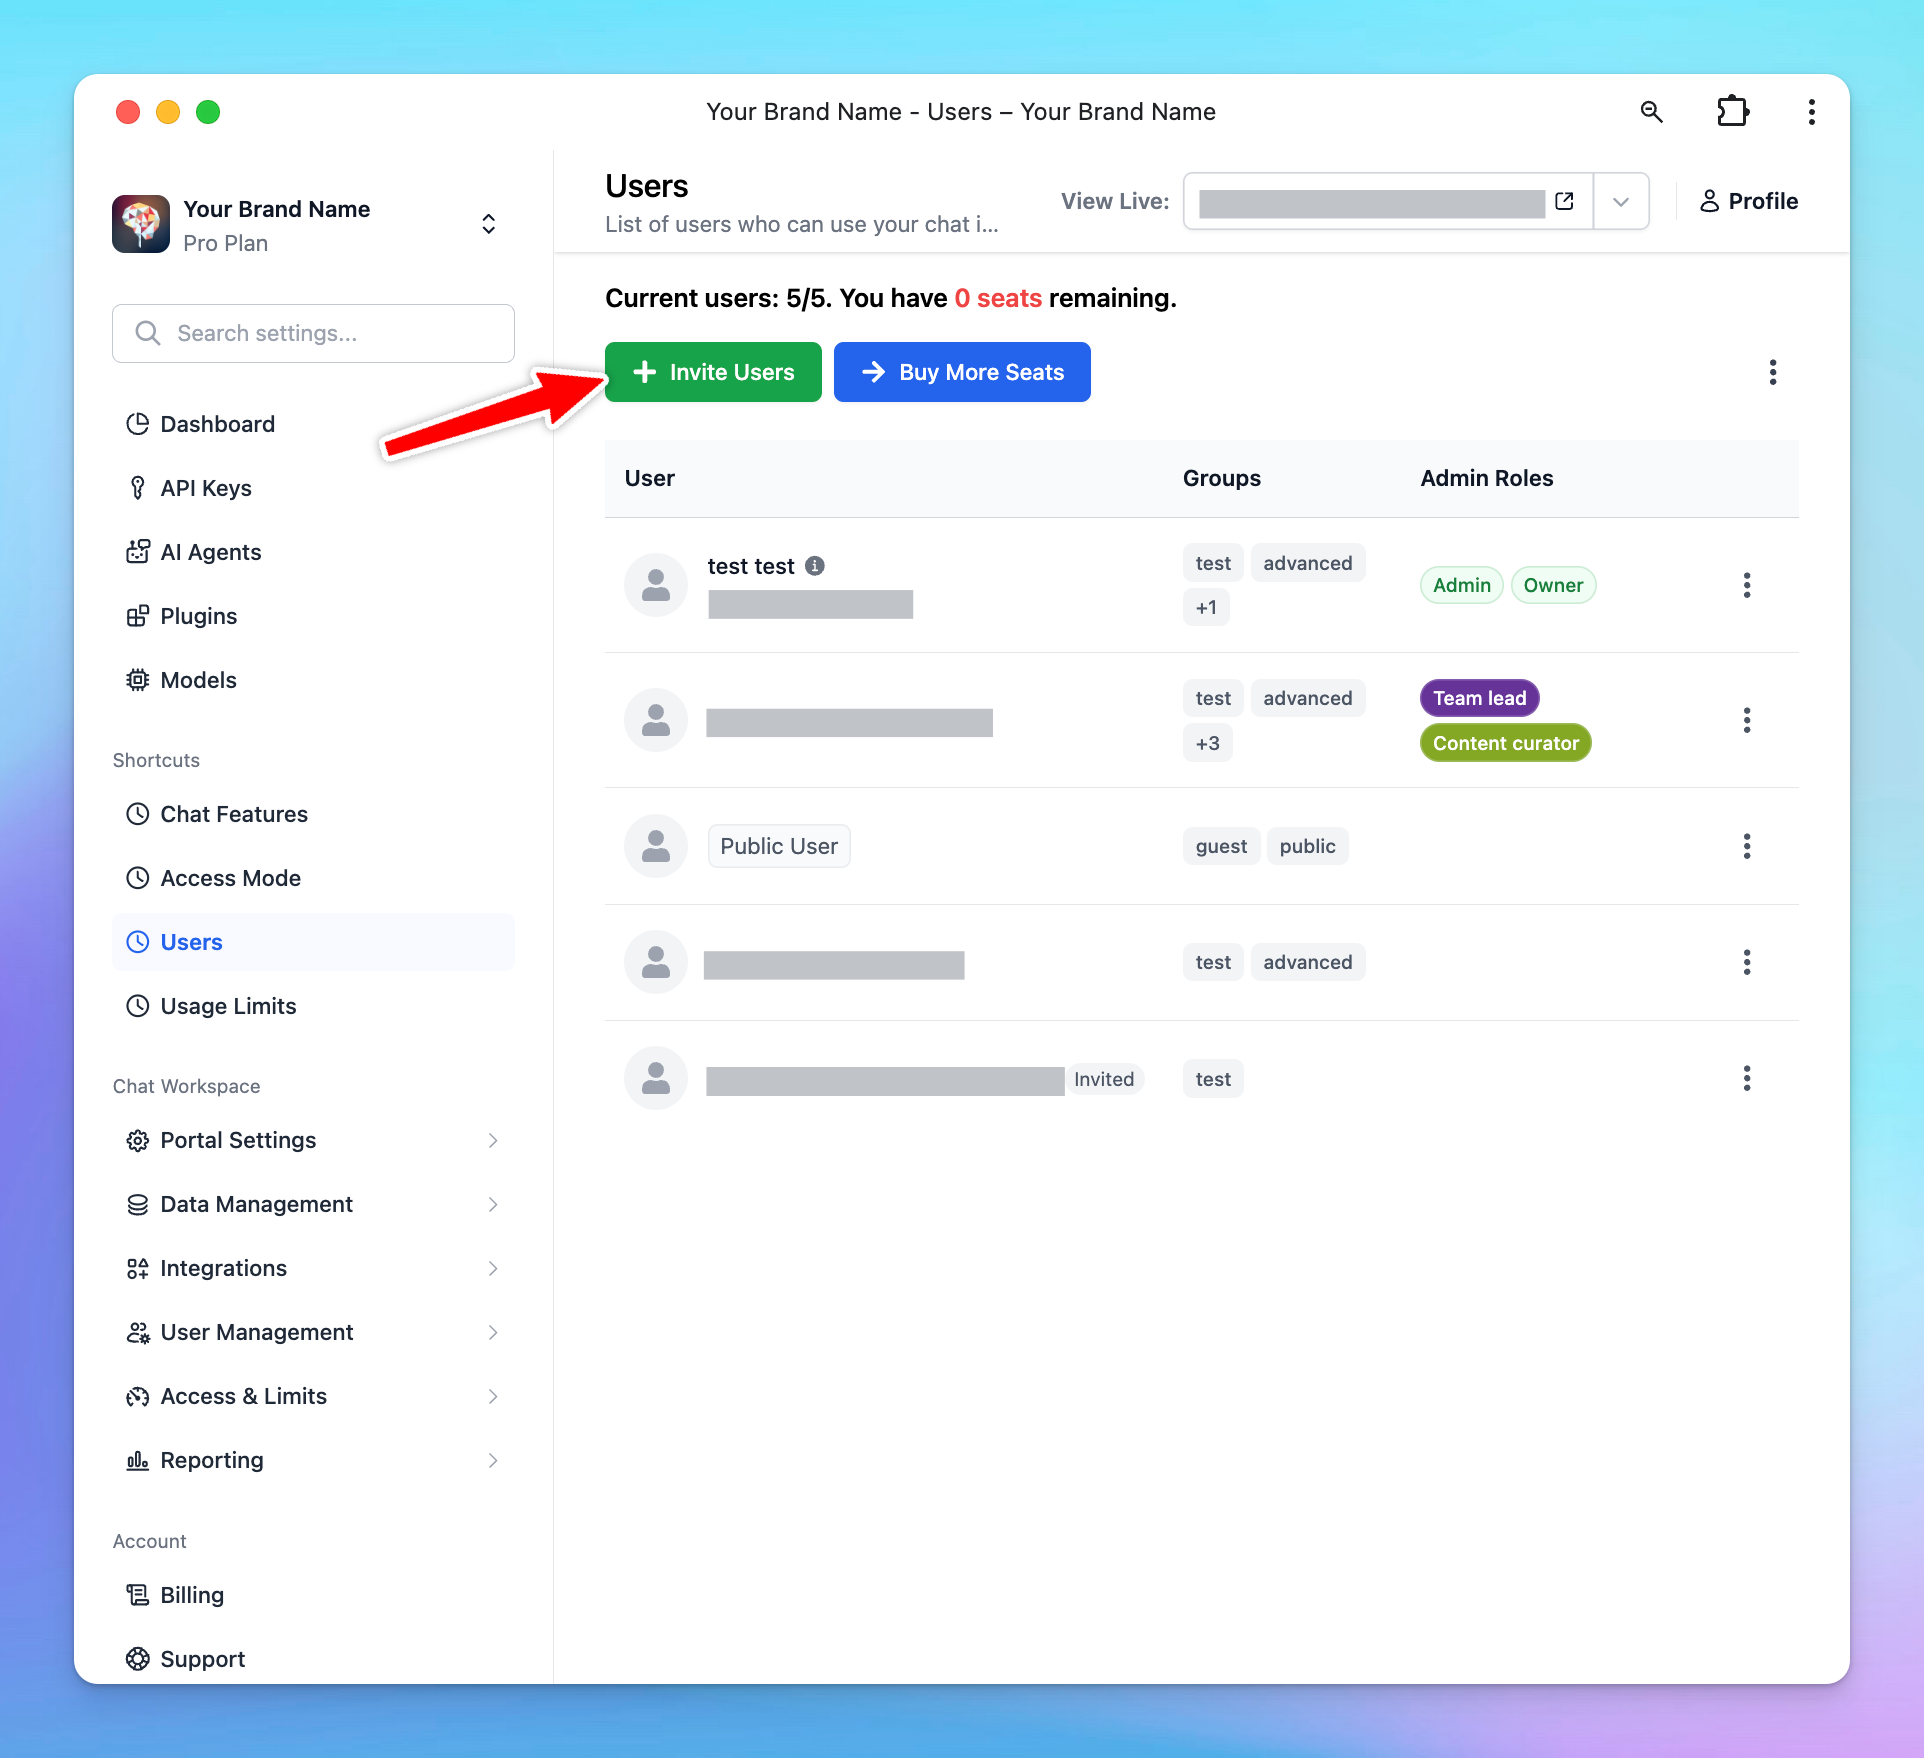
Invite Members
To invite new members, follow these steps:
- Go to Members page
- Click Add members
- Enter the member email you want to add. One email per line
- Click Add members
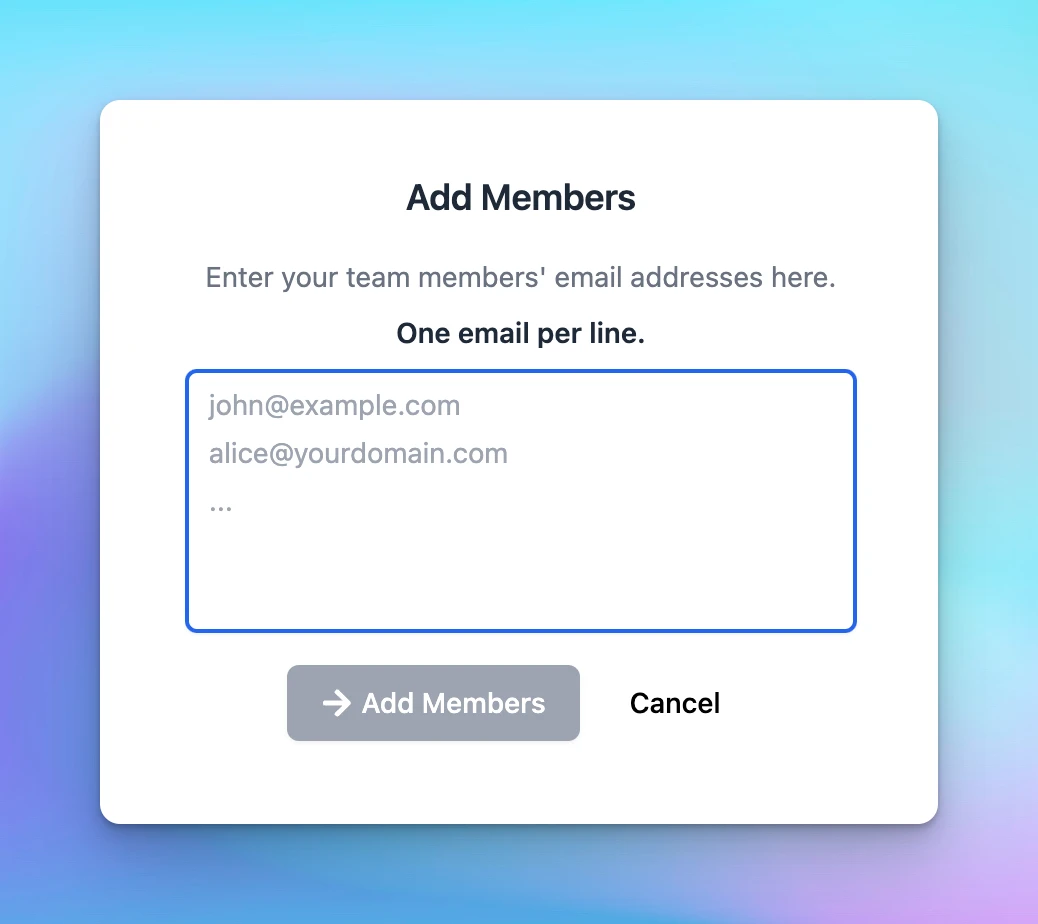
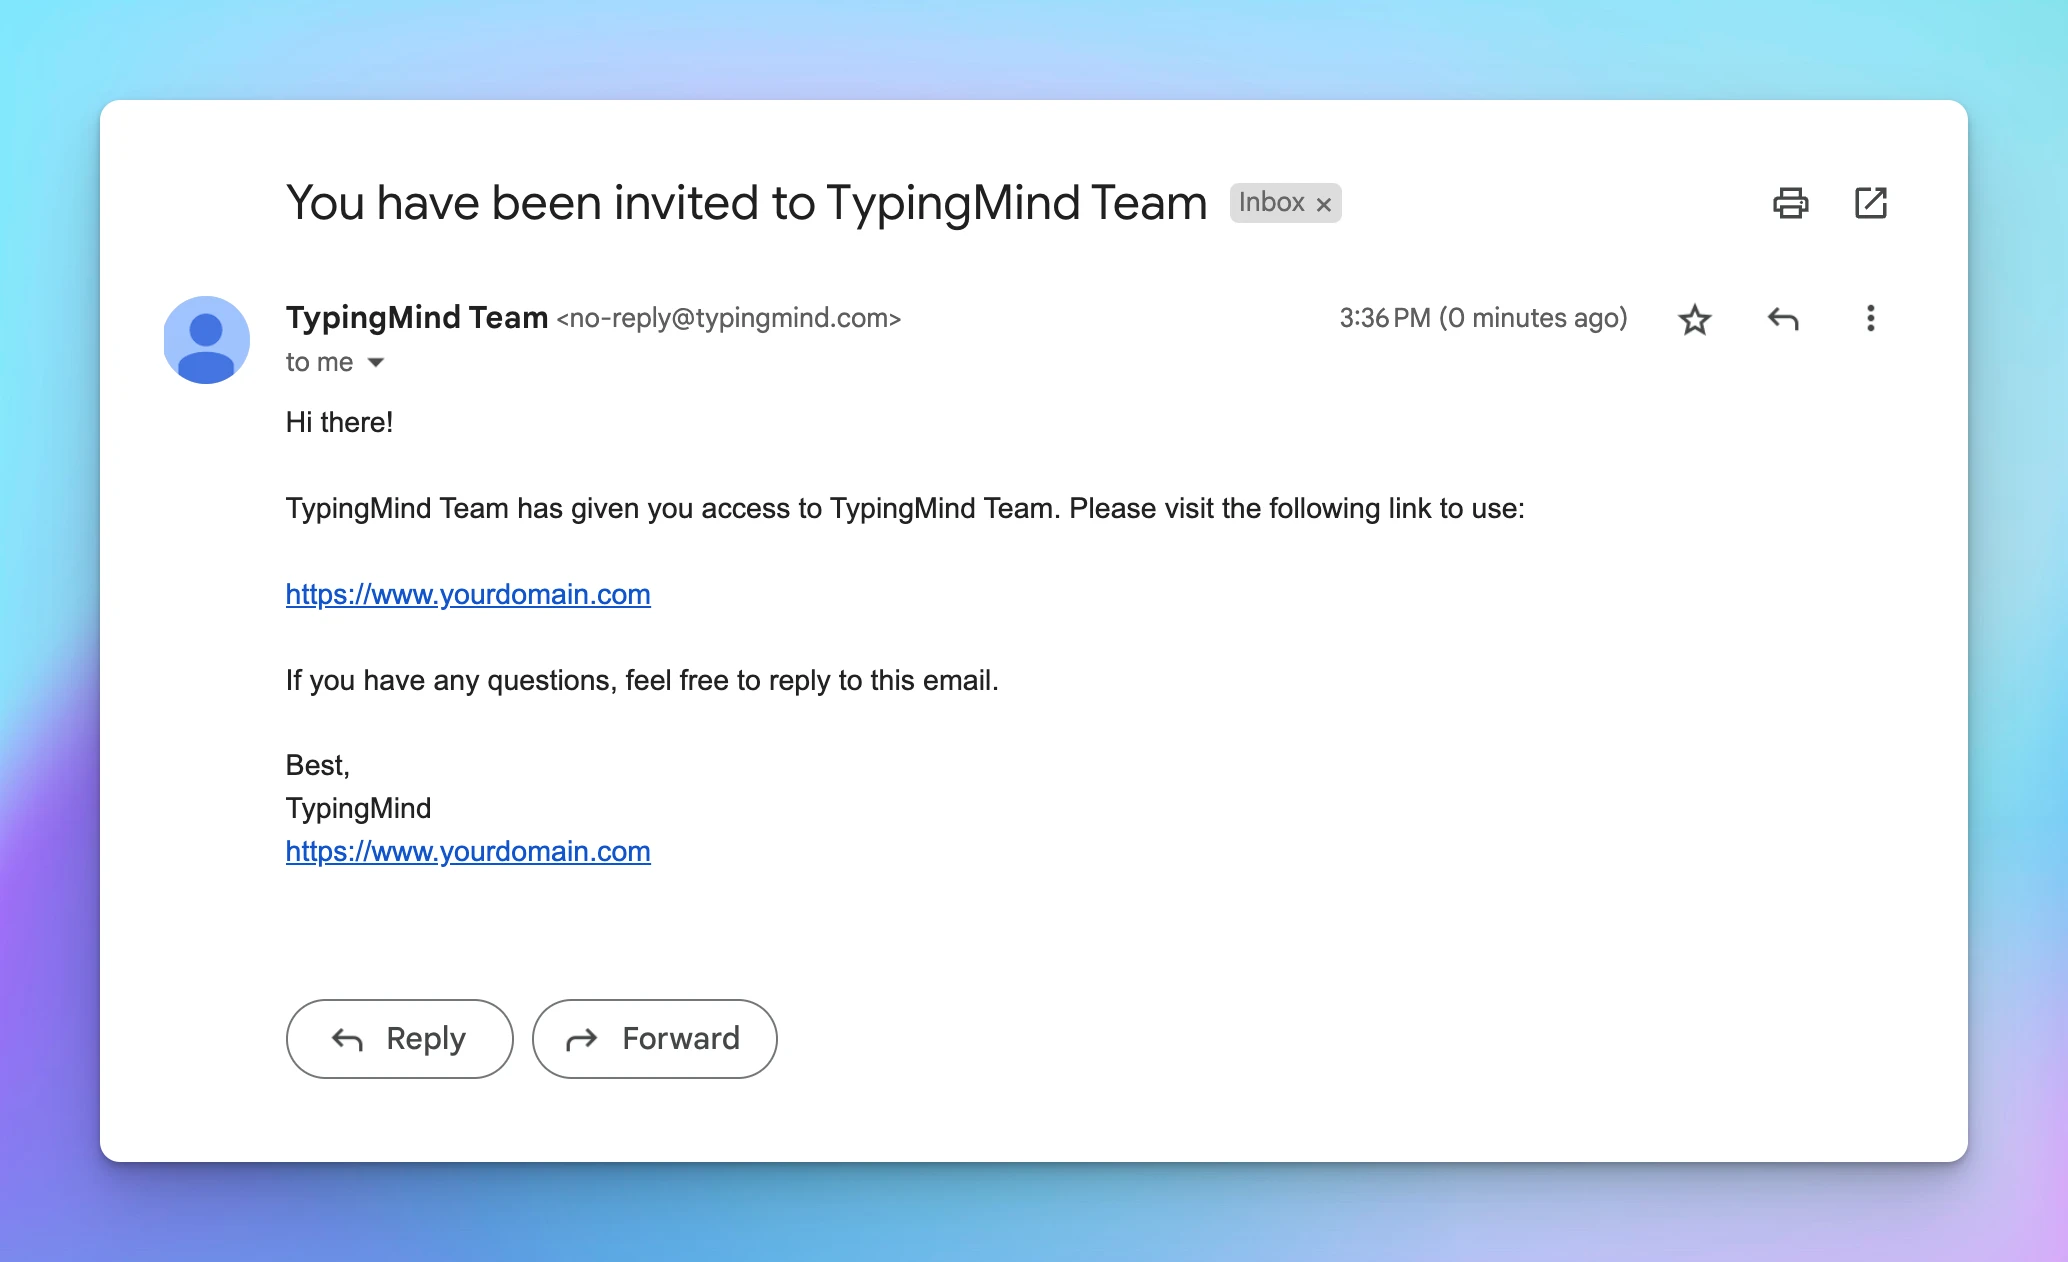
After that, the invited email will receive an invitation to join your chat instance:
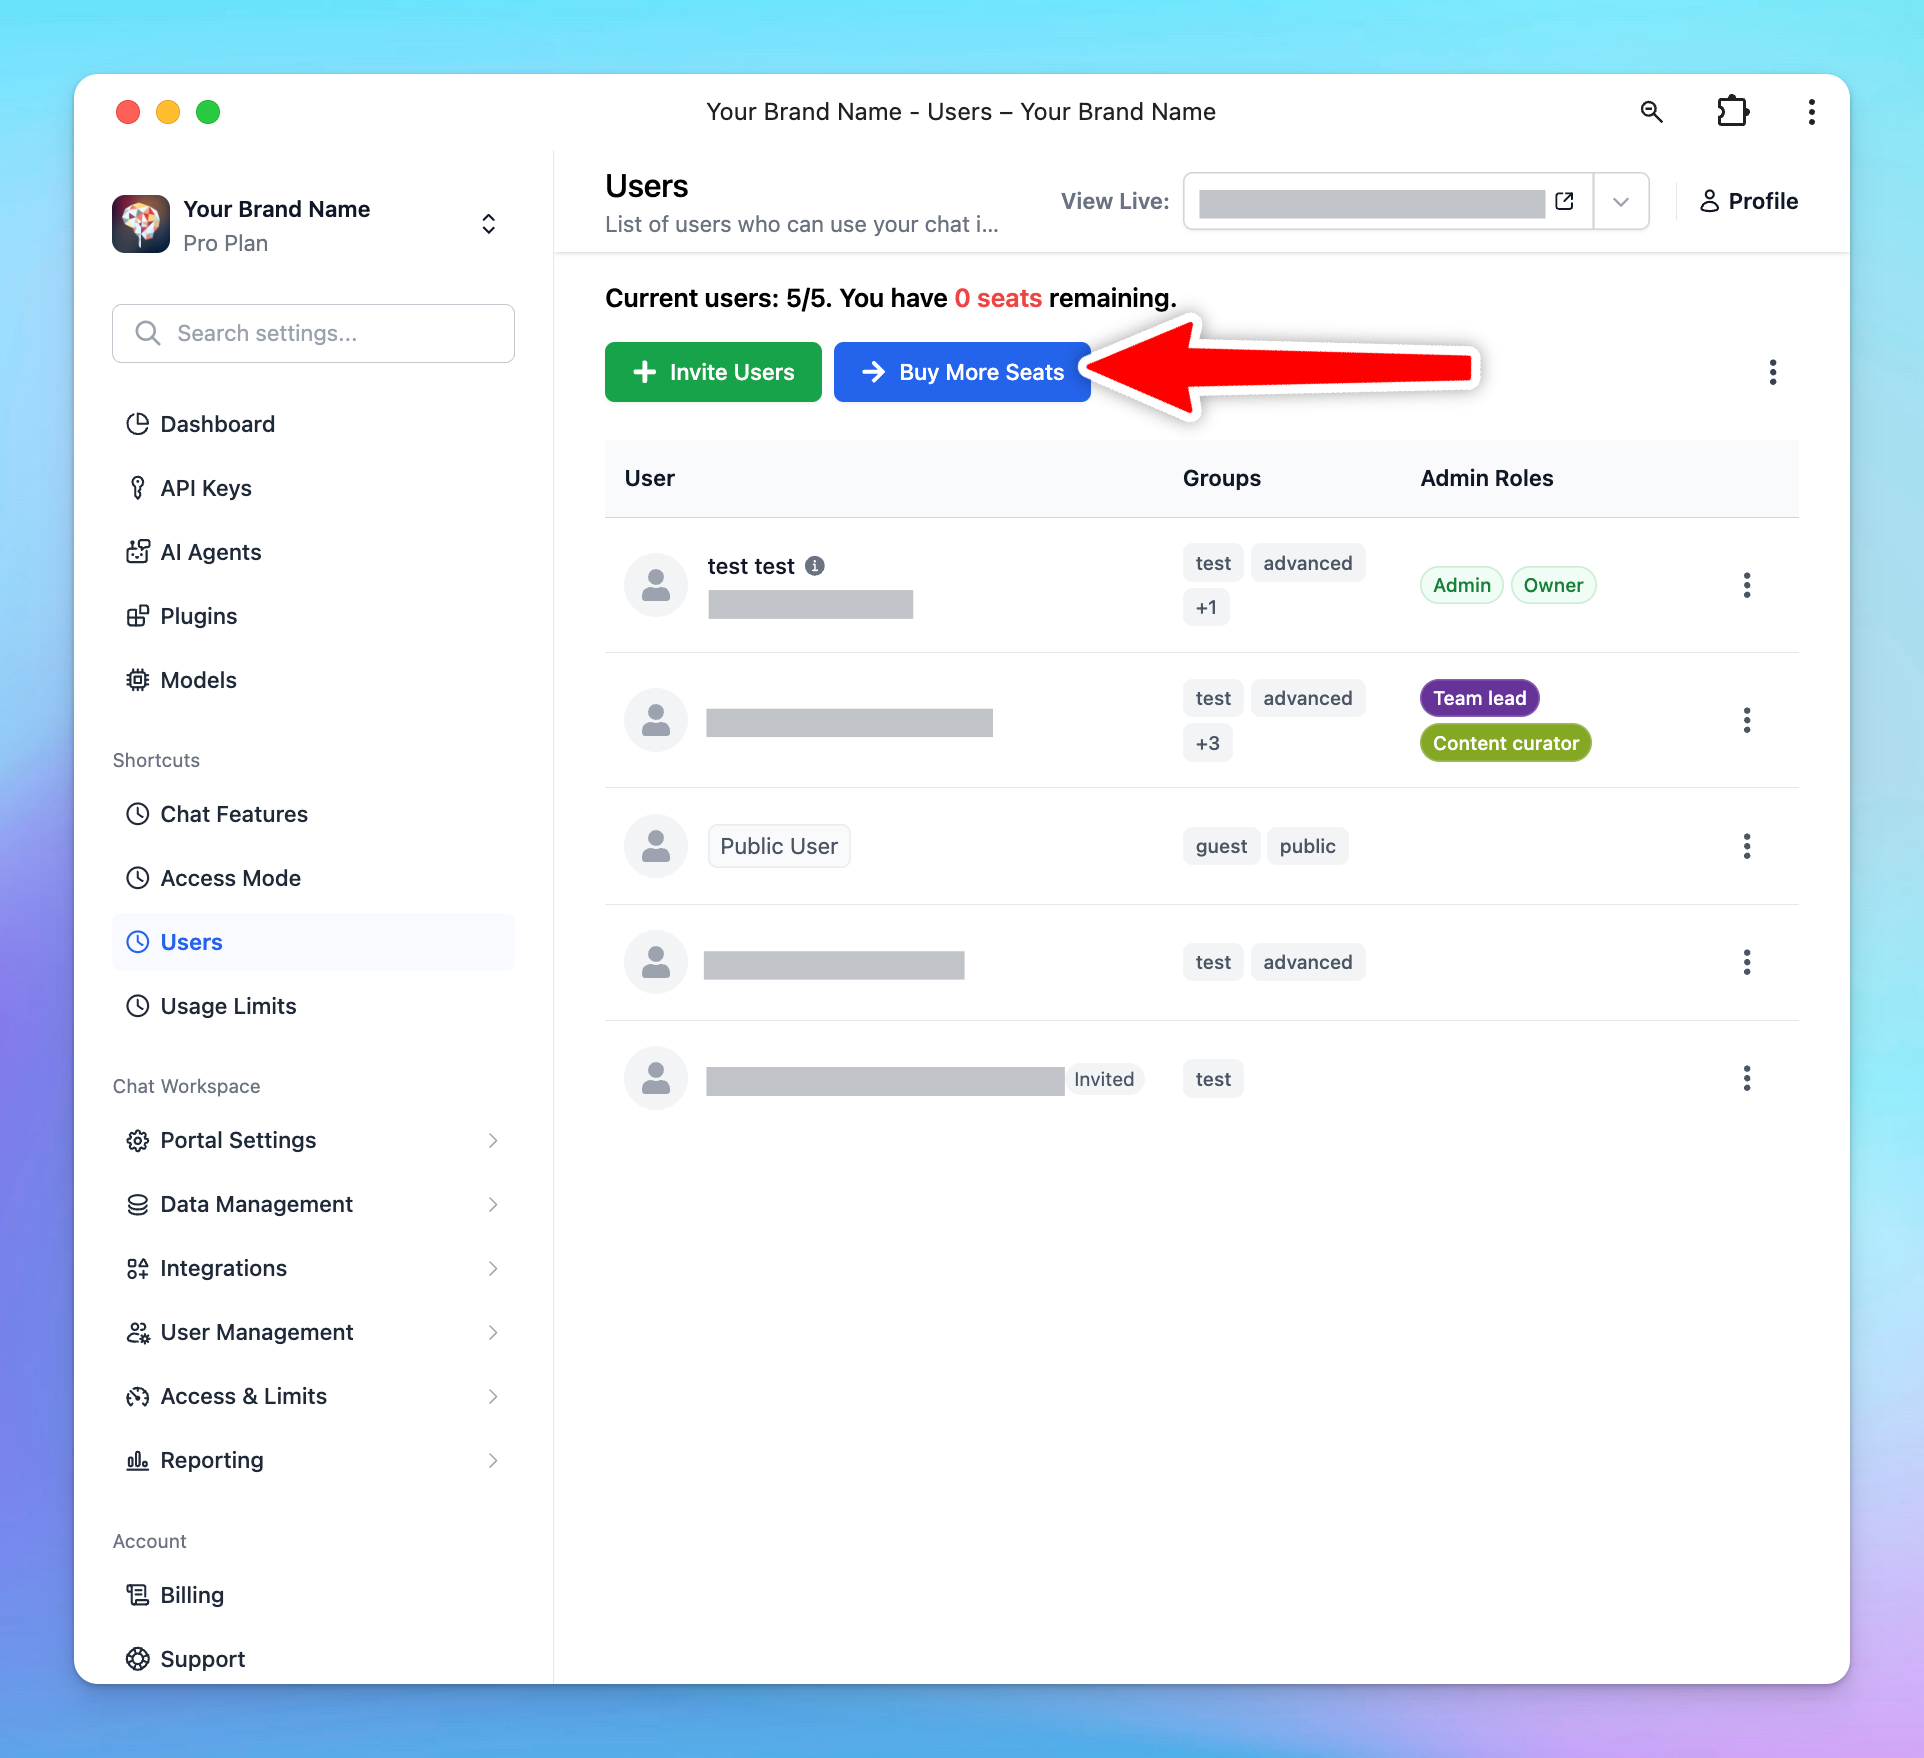
Adding More Seats
If your requirement exceeds the default number of seats provided in your plan, you can purchase additional seats by:
- Navigate Members page
- Click ‘Buy More Seats’
- Choose the number of seats you want to buy. One email added will be counted as 1 seat.
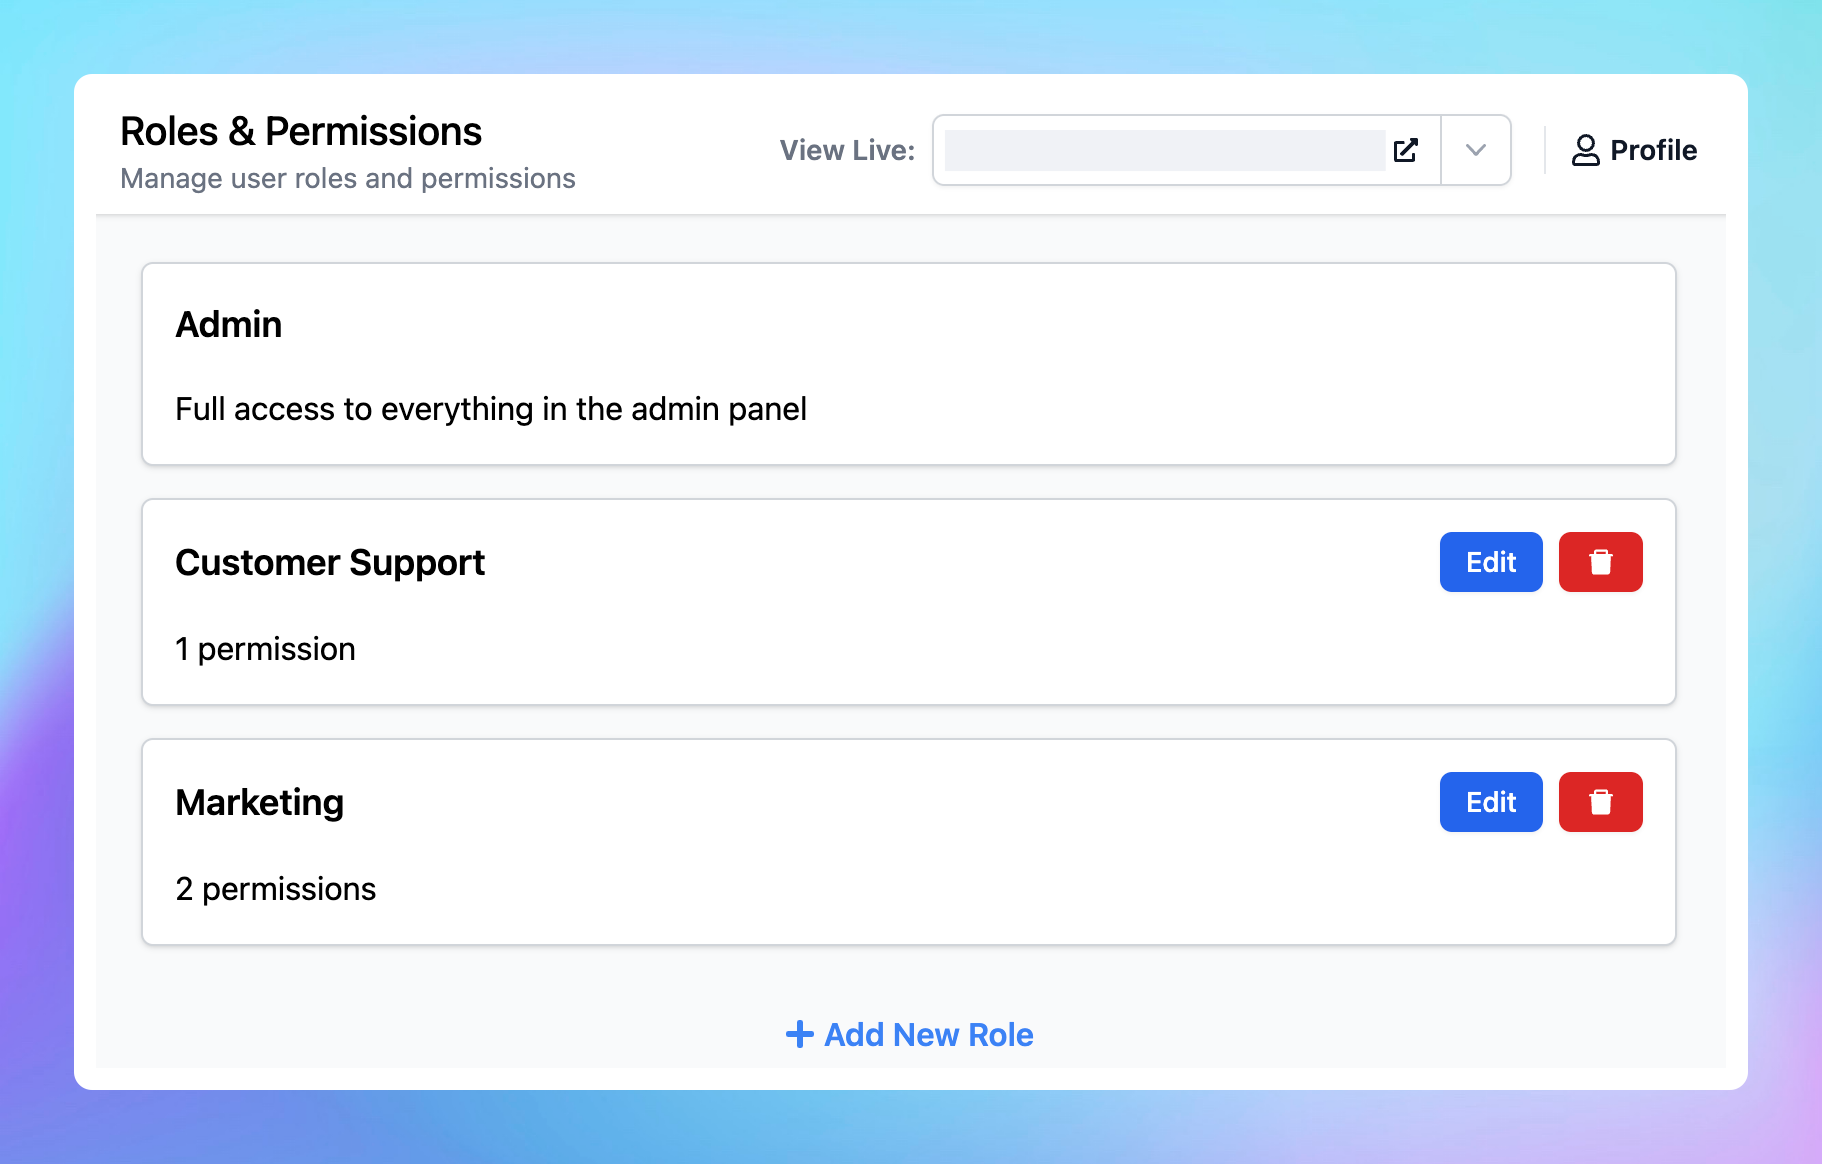
Member Roles
Instance owners can create Custom Roles within each chat instance.
You can define a variety of roles, each with a unique set of permissions, and then assign these roles directly to team members.
This ensures that each person has access only to the features necessary for their role.
- Go to Roles & Permissions under the User Management section
- Create roles with different sets of permissions and assign them to your team members following this guide: Roles and Permissions