Features
Build Custom AI Chatbot
Create a custom AI chatbot with your knowledge base
Transform your chat interface into a custom chatbot by connecting it with your knowledge base directly from the Admin Panel. This allows you to personalize ChatGPT’s responses to align with your business, project, or knowledge domain.
Benefits of a Custom AI Chatbot
- Personalization: by integrating your knowledge base, the chatbot will deliver responses based on your specific data.
- Improved accuracy: refining the chatbot’s responses makes sure it consistently delivers information relevant to your unique needs.
- User engagement: a chatbot embedded on your website provides immediate assistance to users, improving interaction and satisfaction.
How knowledge base works when connecting with your AI Chatbot?
The AI assistant get the data from uploaded files via a vector database (RAG).
All of your connected files are stored securely on our system. We never share your data to anyone else without informing you before hand.
Learn more: How Knowledge Base works
Step by Step to Set Up a Custom AI Chatbot
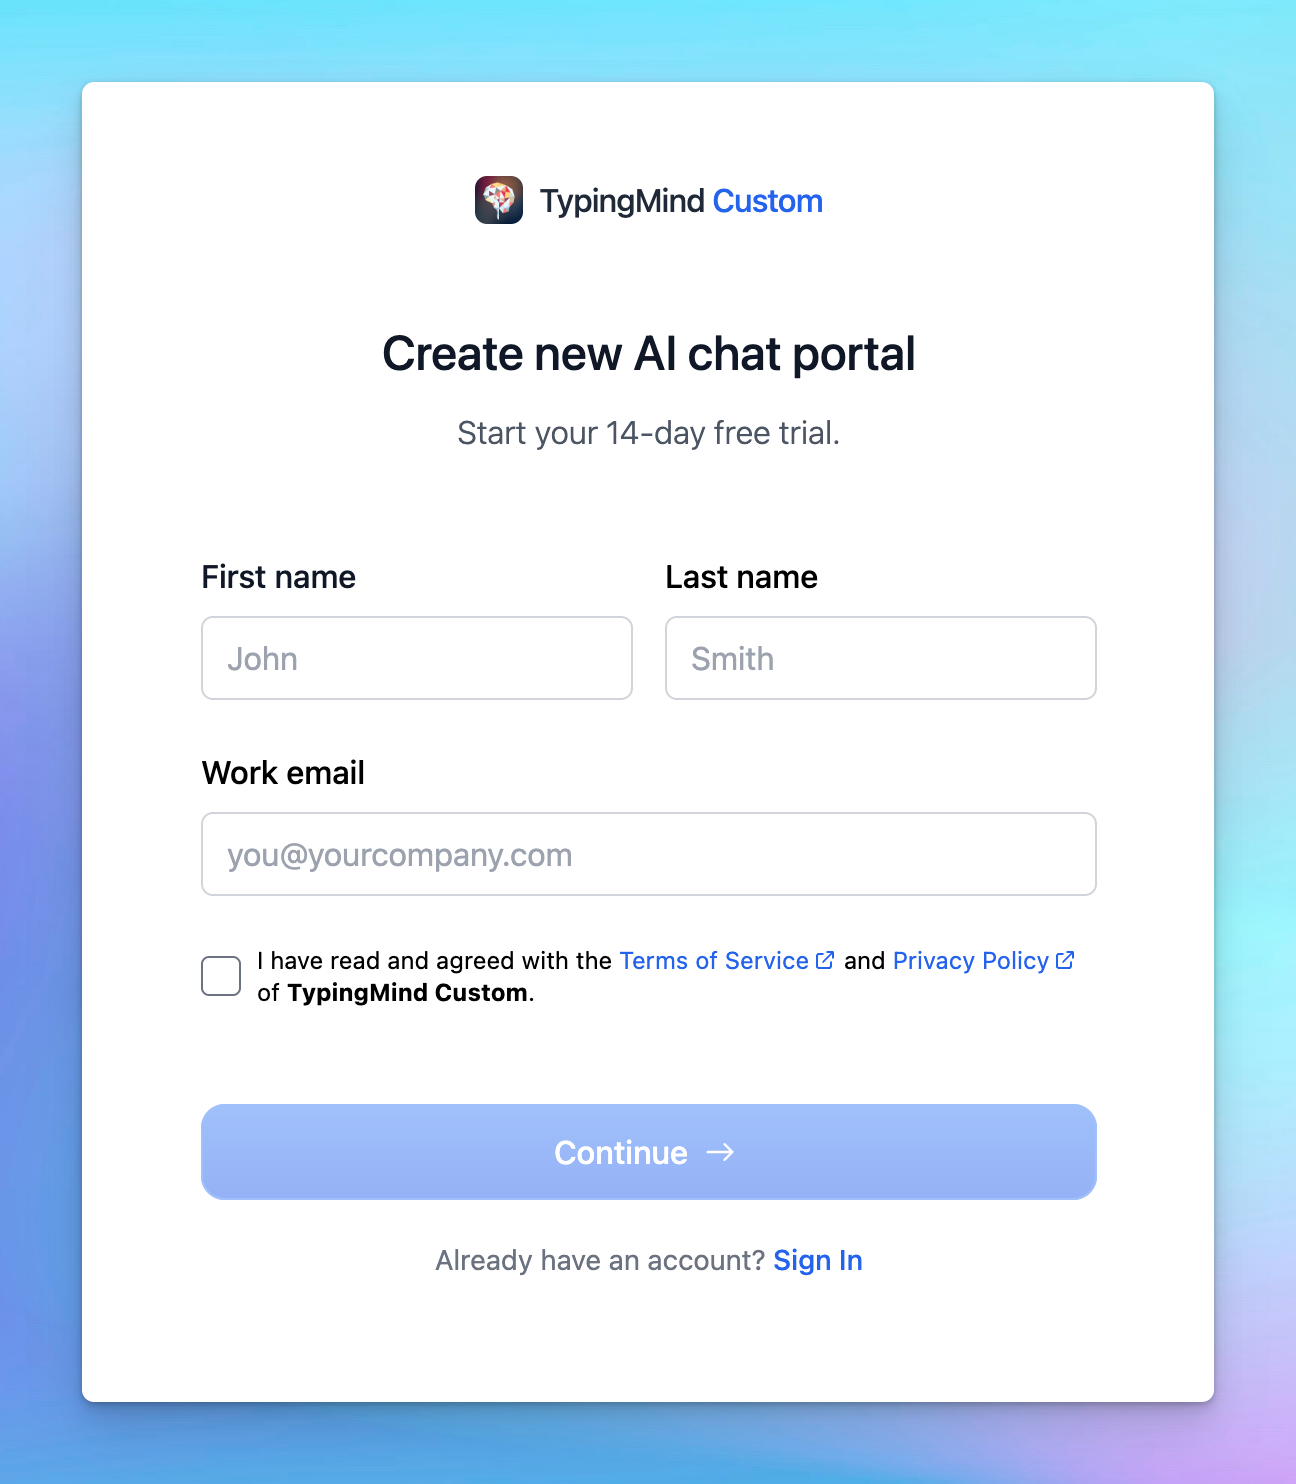
Step 1: Create a Chat Instance
If you haven't set up a chat instance yet, begin by creating one. This instance will act as the foundation for your custom ChatGPT bot.
- Go to the Chat Instance Signup Page.
- Fill in the required details.
- Once created, you'll be redirected to the Admin Panel.
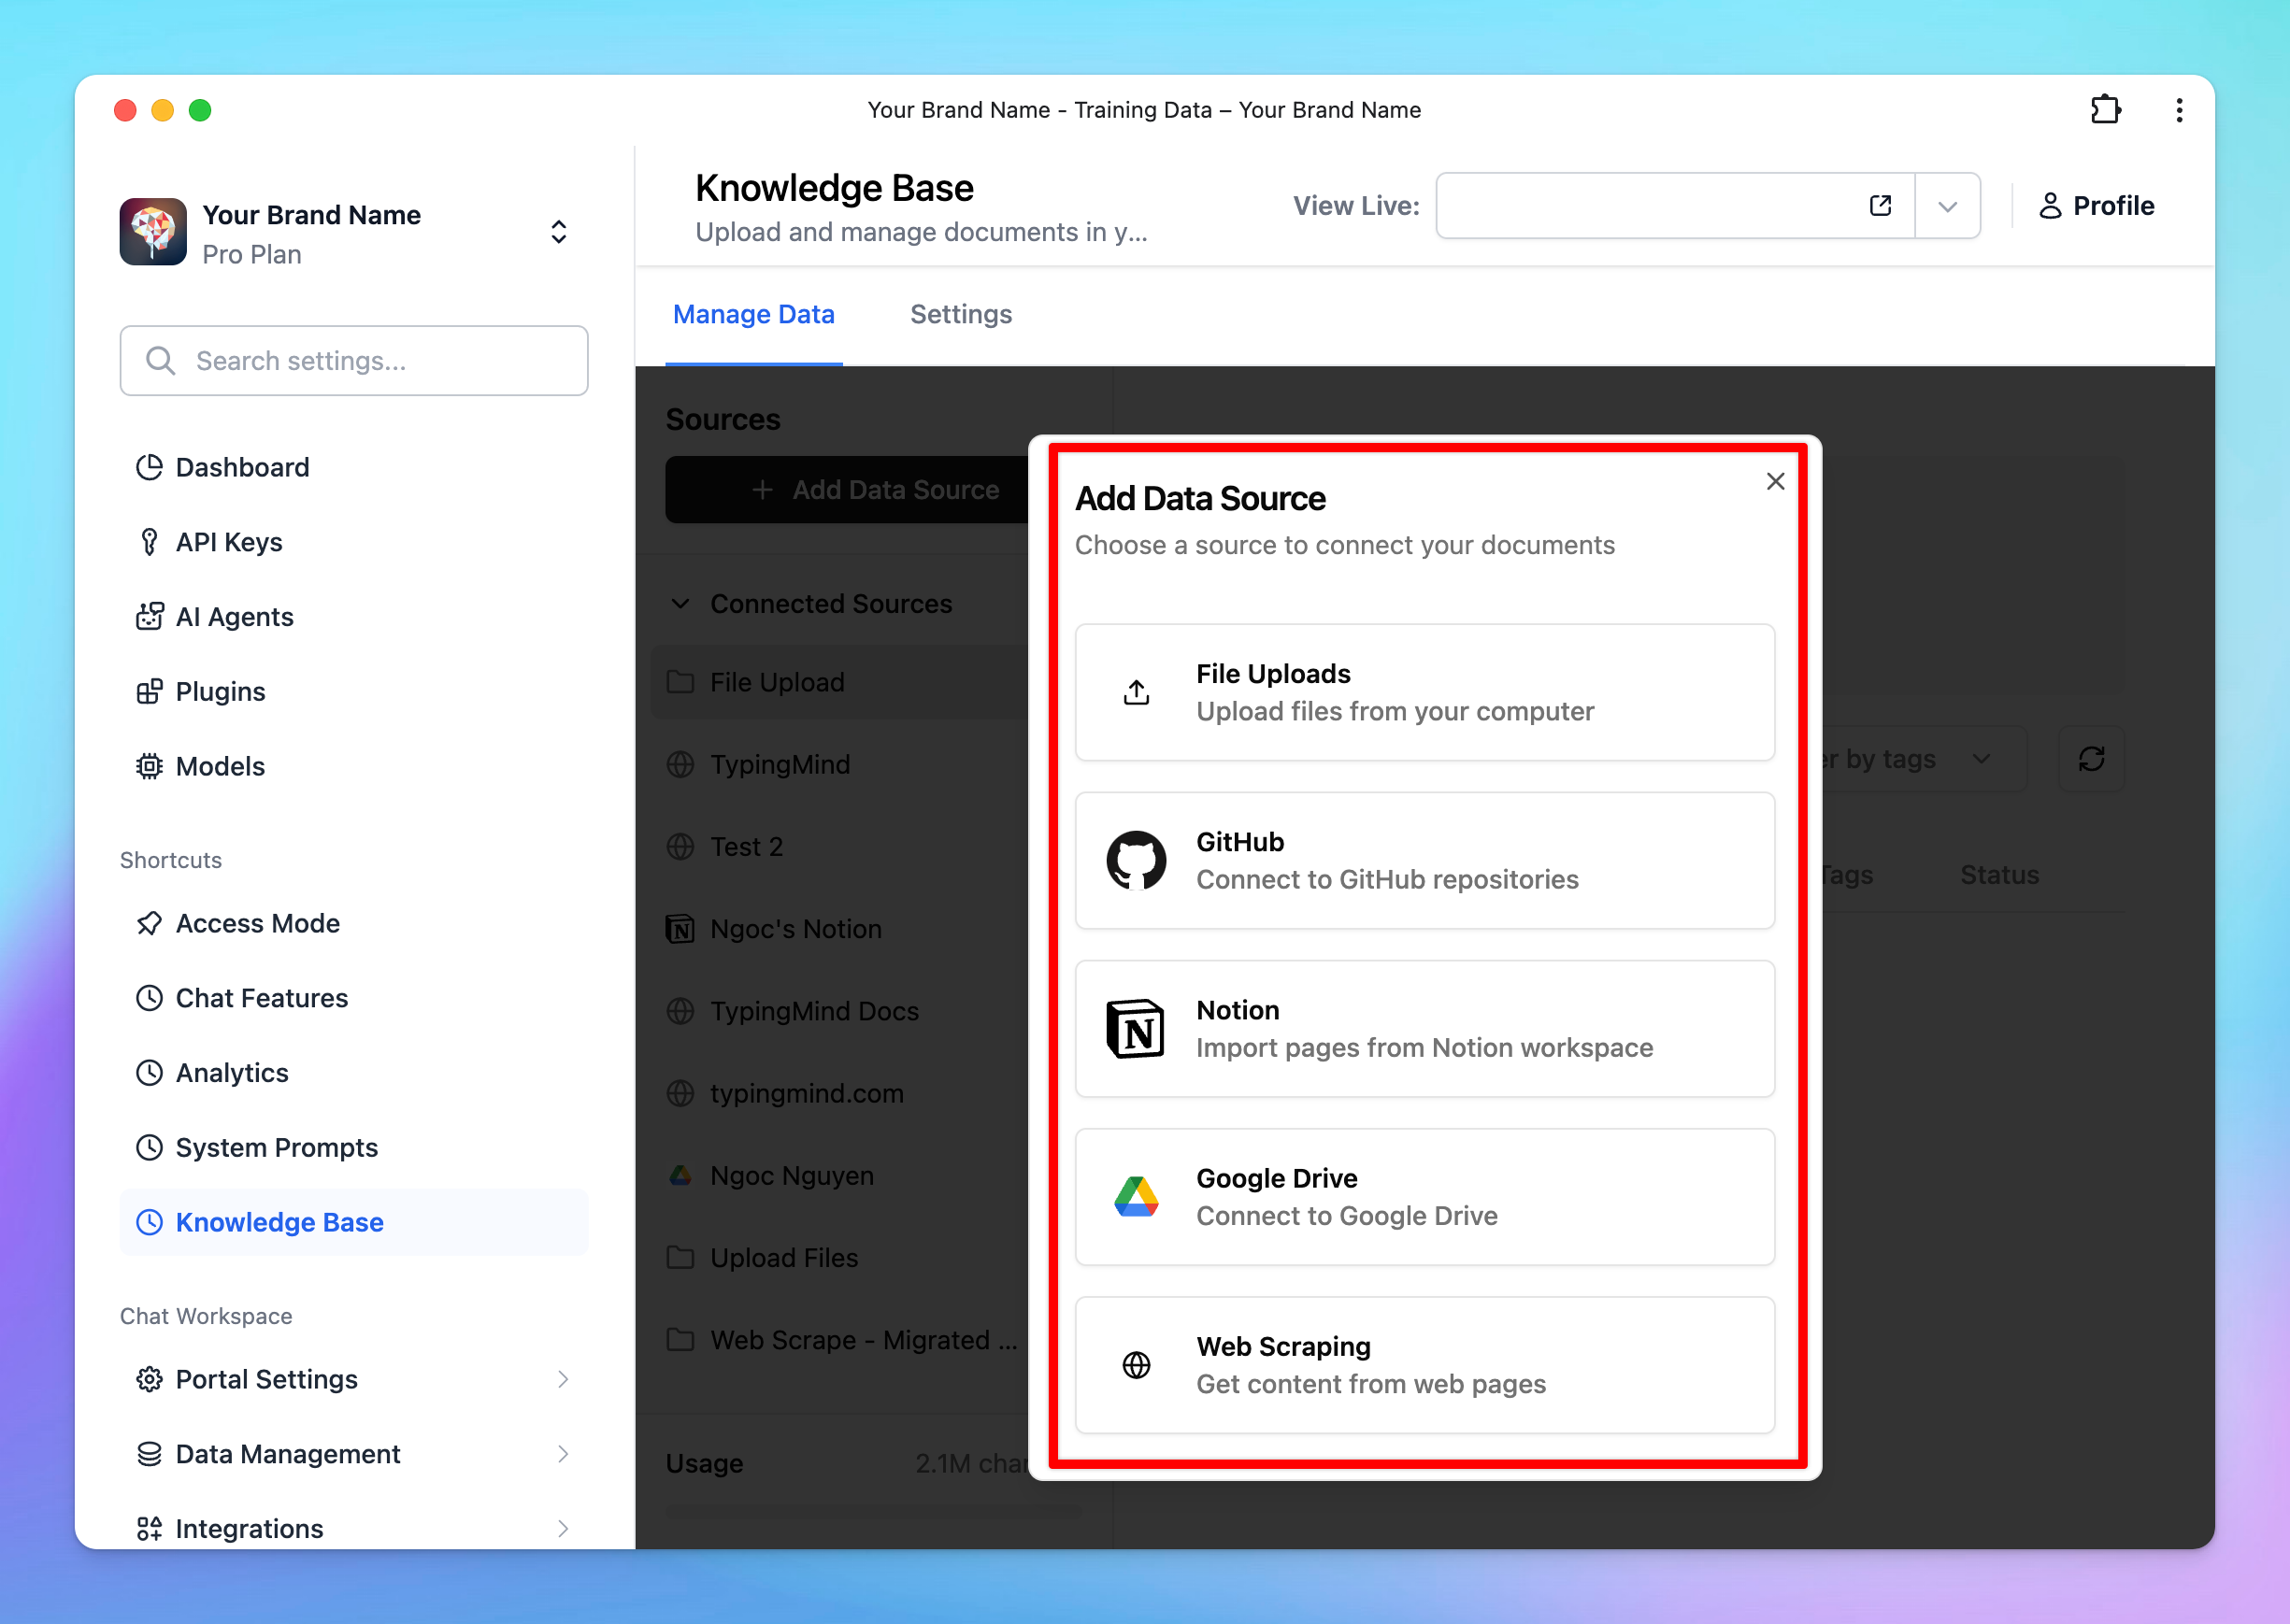
Step 2: Connect with your knowledge base
Next, you’ll need to upload or connect your knowledge base, which the chatbot will use to generate responses.
Go to the Admin Panel → Knowledge Base. Here you can setup your training documents by two ways:
Option 1: Upload Files
You can upload documents directly to the system. Supported file formats include:
- DOCX
- TXT
- CSV (and more)
Each file can be up to 20MB. Simply drag and drop the files, or select them from your device to upload.
Option 2: Pull Data from Other Services
Alternatively, connect external services to your chatbot. You can import knowledge from platforms like:
- Notion
- Intercom
- Google Drive
- Confluence
- and more!
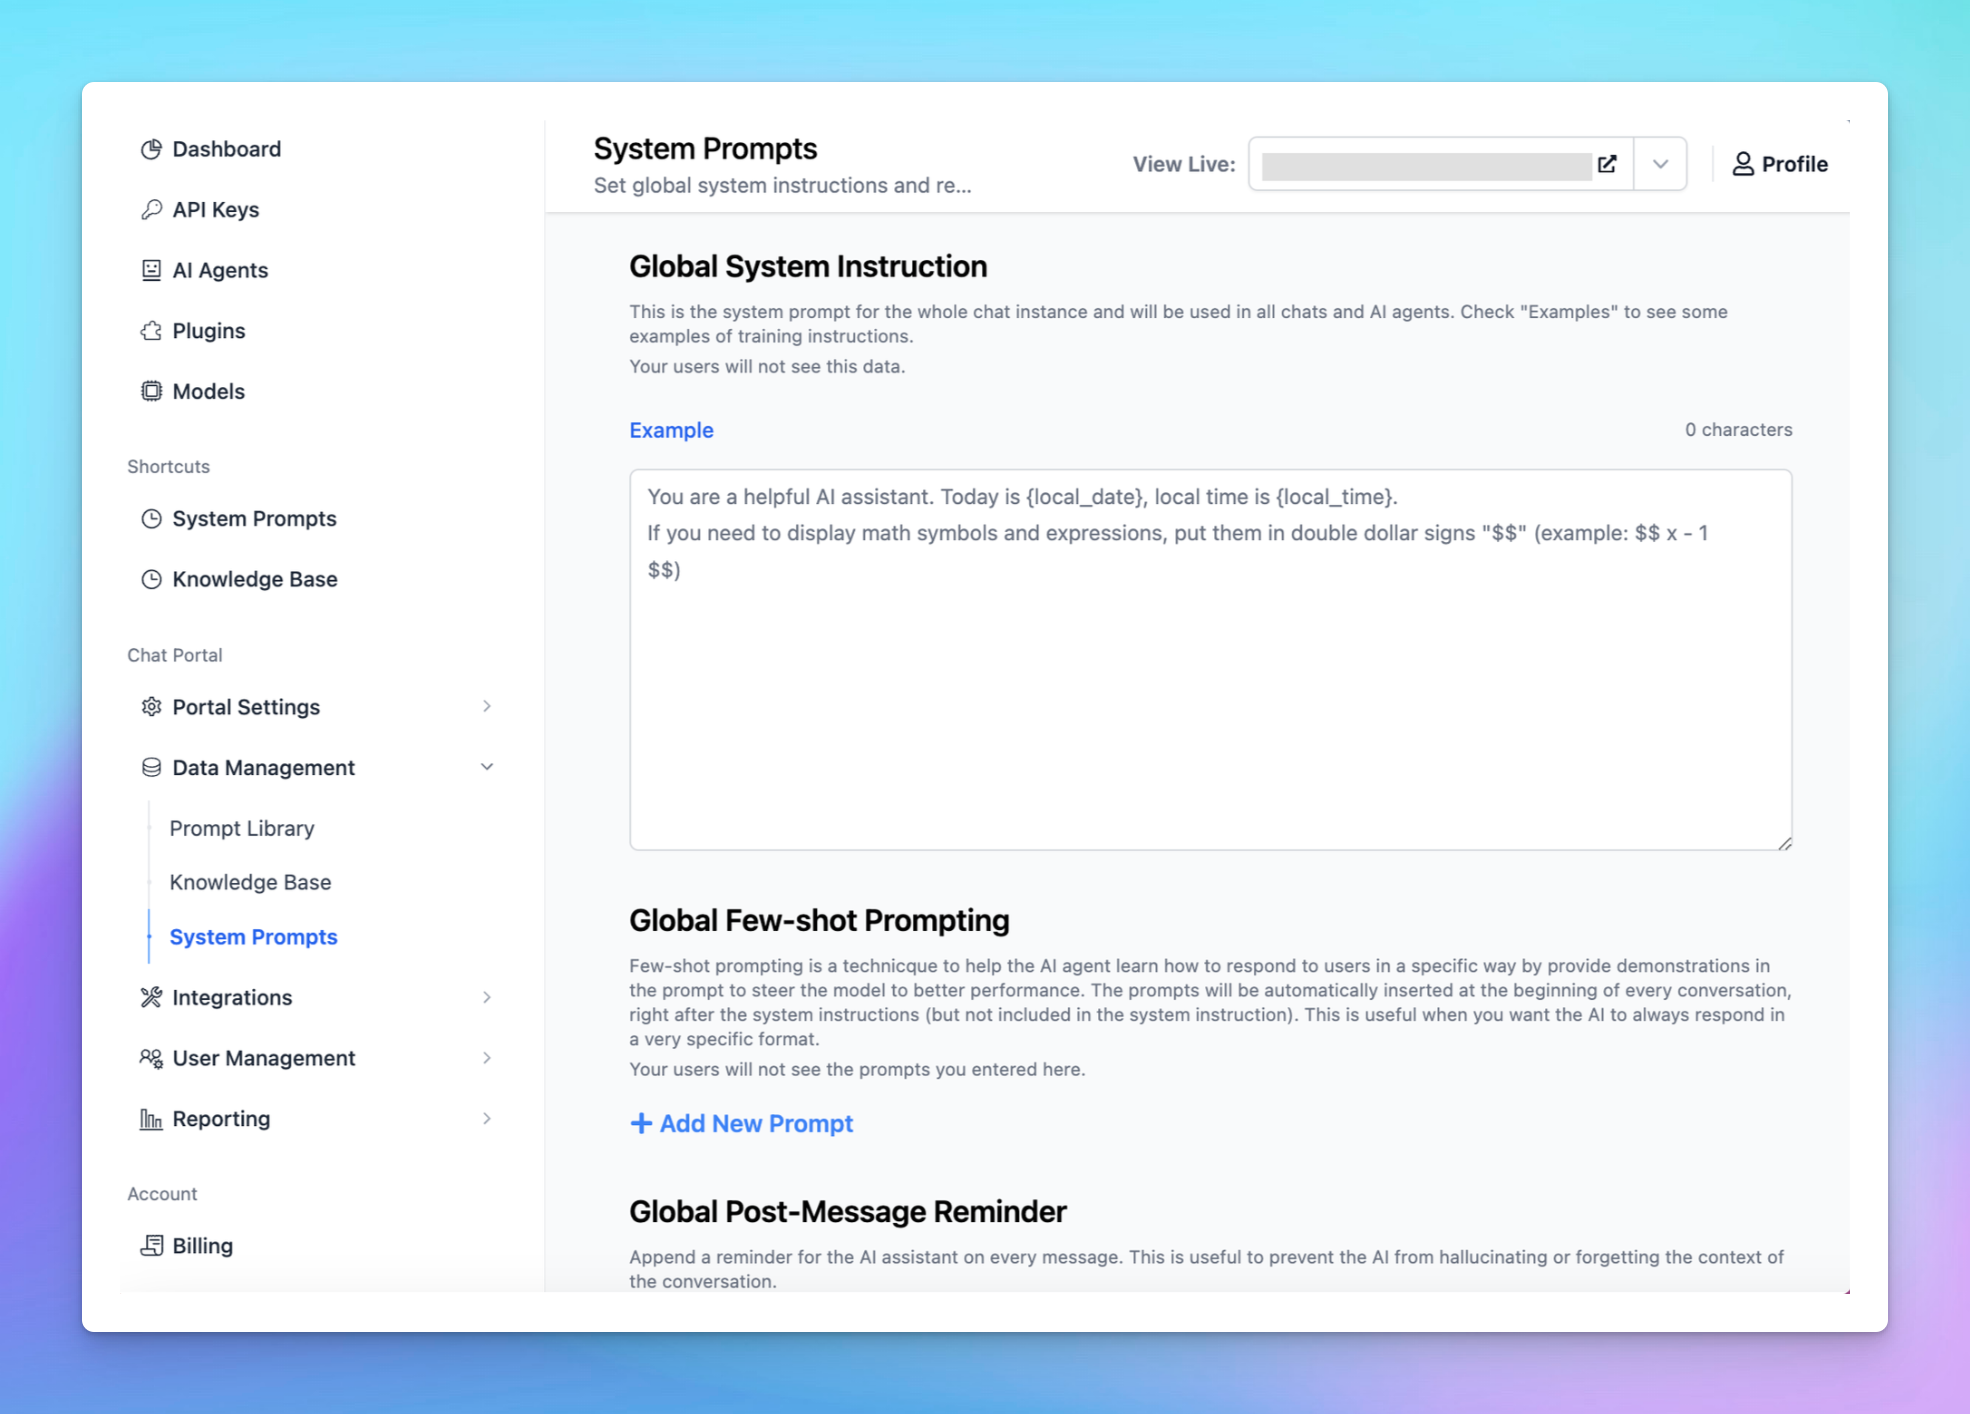
Step 3: Configure System Prompts
Combining system prompts with data from your knowledge base will help fine-tune your chatbot’s behavior.
System prompts are predefined instructions given to the chatbot that control how it should behave and provide answers.
Example: If you’re creating a customer support chatbot, you could input a system prompt like:
- “Always greet the user politely.”
- “Never answer questions that are not provided in the knowledge base”
To access and set system prompts:
- Navigate to Admin Panel → System Prompts.
- Customize the prompts based on your preferred interaction style.
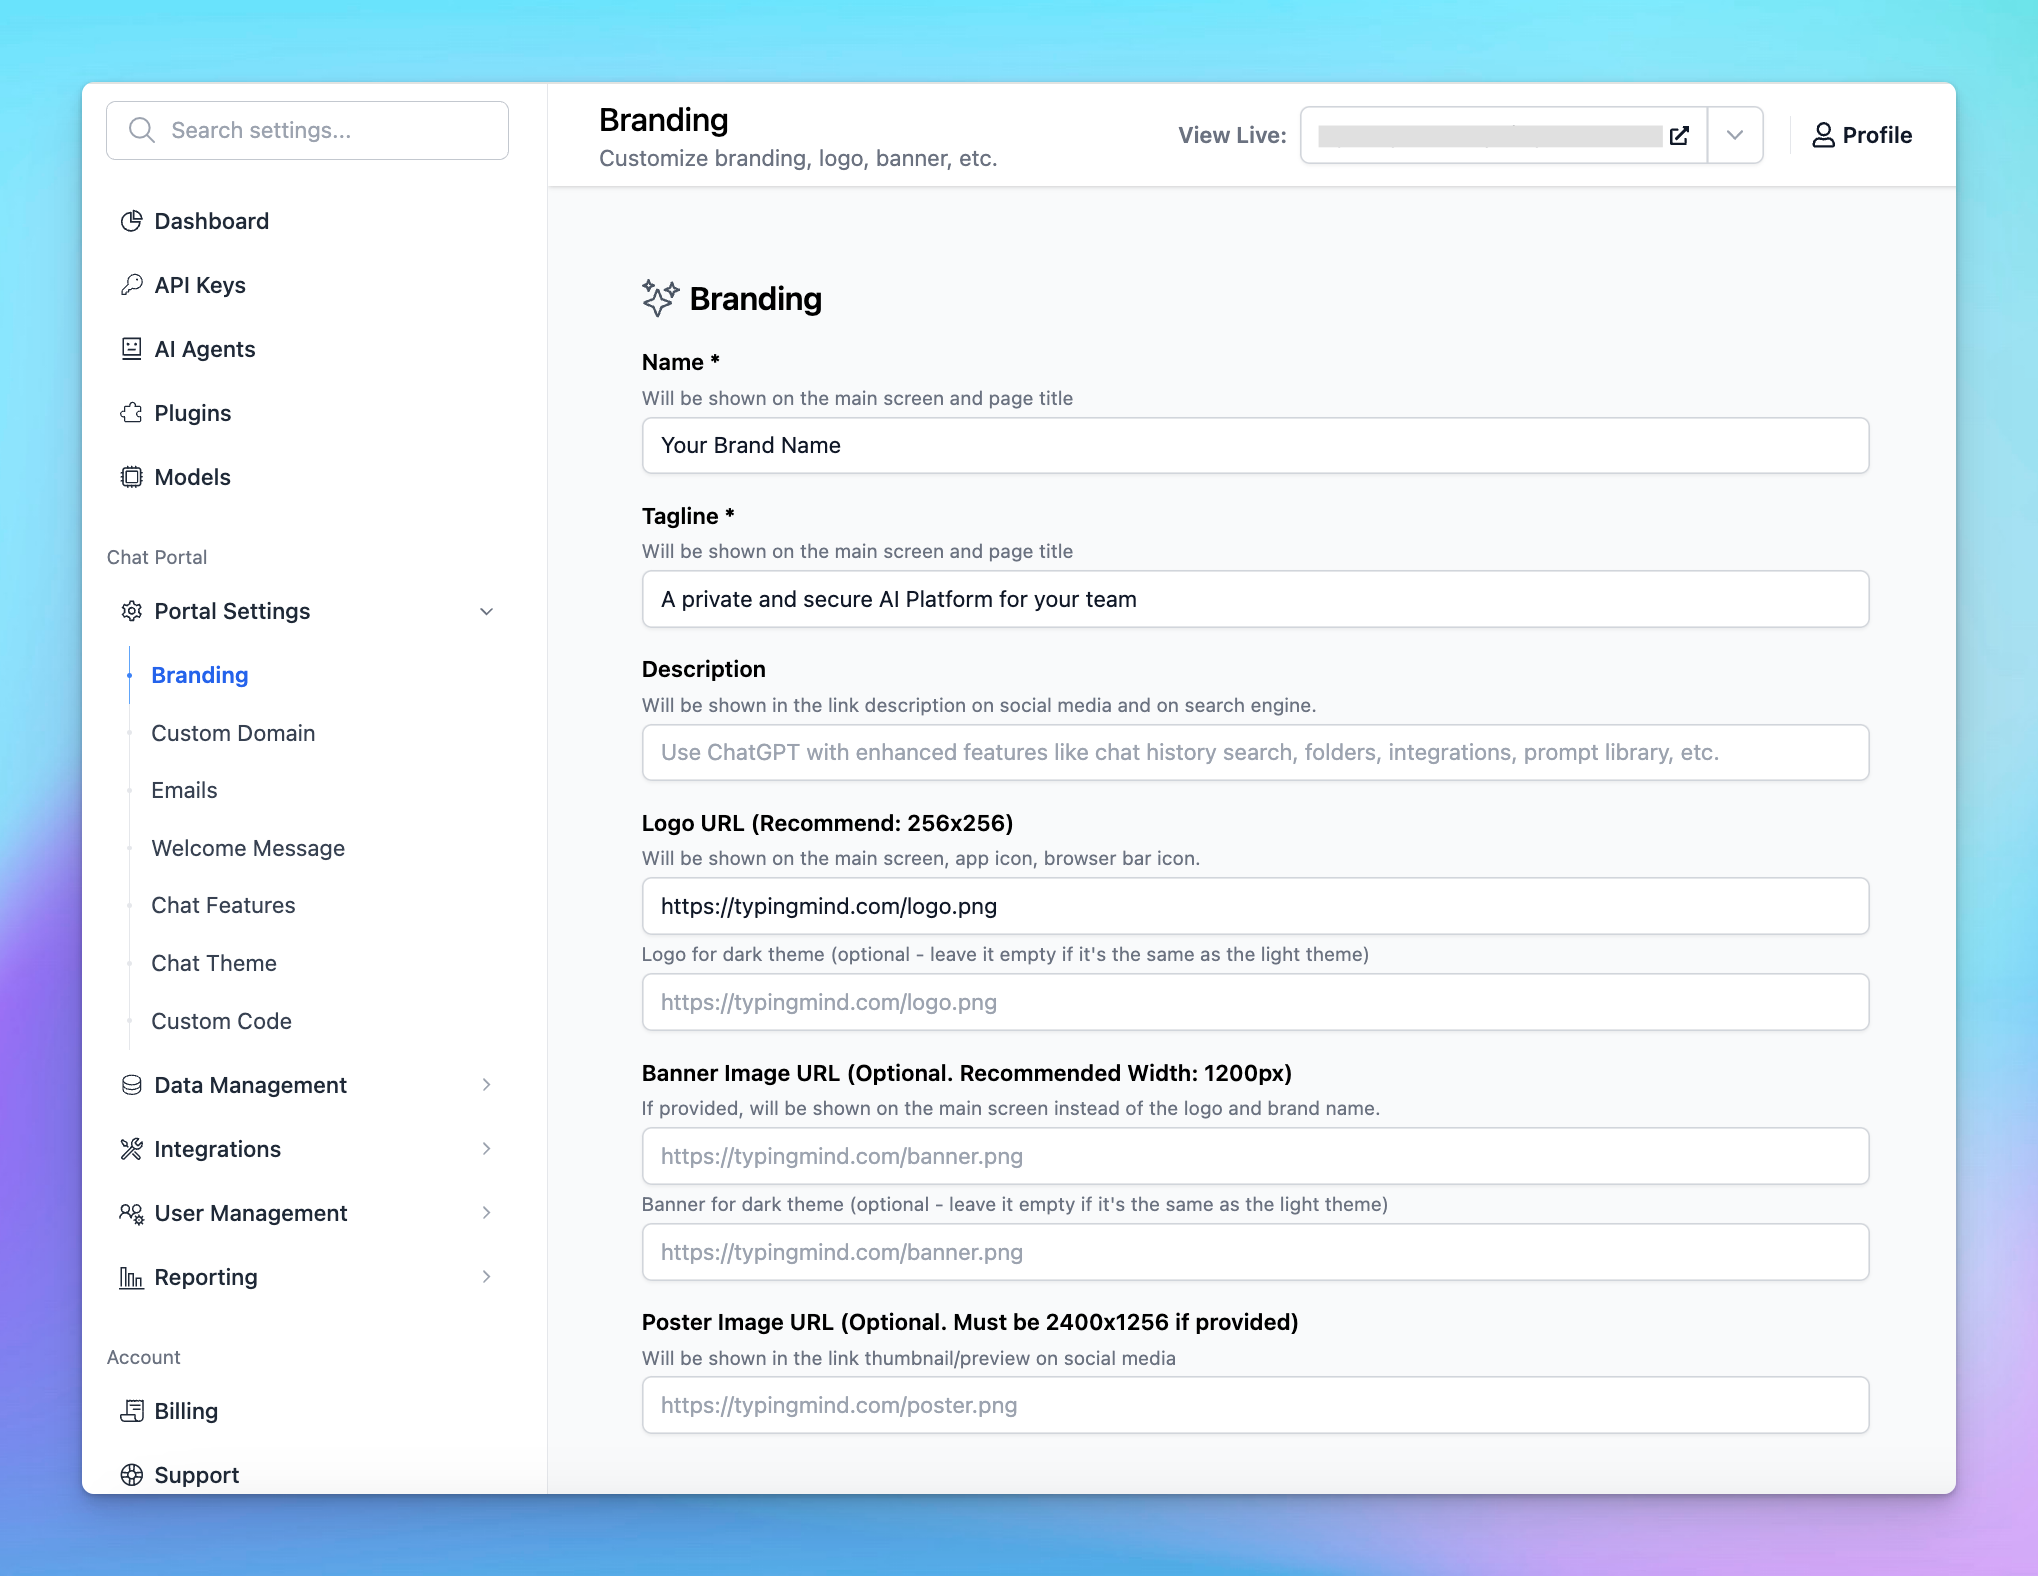
Step 4: Customize your chatbot branding
You can fully control and customize the chat instance to suit your team's brand theme.
- Brand name, logo, tagline
- Custom domain
- Custom theme
- Language
- Links
All of these options can be done at Portal Settings → Branding within Admin Panel.
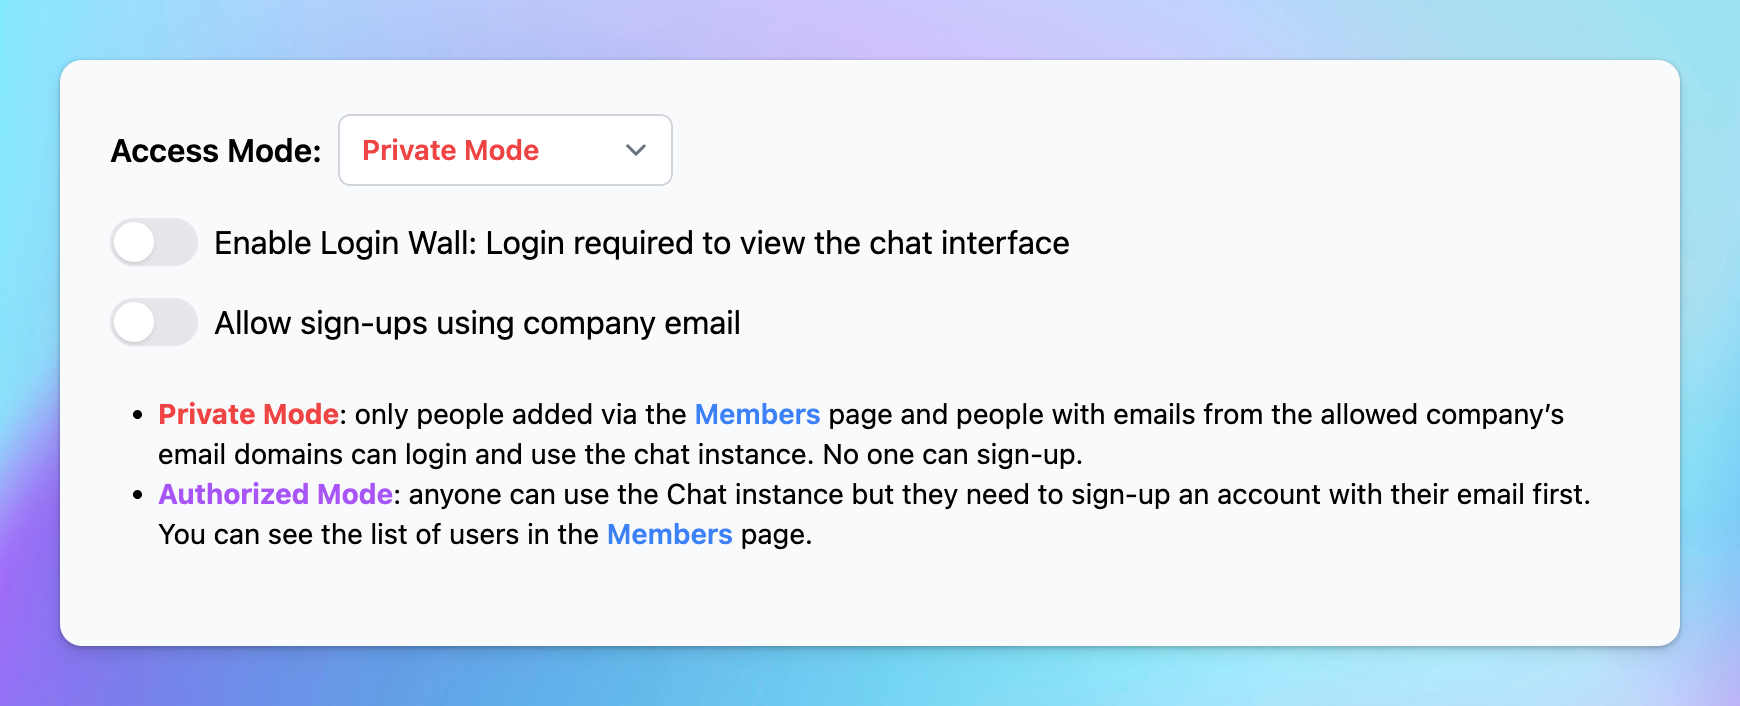
Step 5: Control Access to Your Chatbot
Your chat bot defaults to Private Mode, which means only invited members can log in and access the chat.
However, we provide another additional access option:
- Authorized Mode - Your chat is accessible to anyone with a verified email address.
Step 6: Embed the Chatbot on Your Website
Once you're satisfied with your chatbot’s performance, it’s time to integrate it into your website. There are two primary ways to do this:
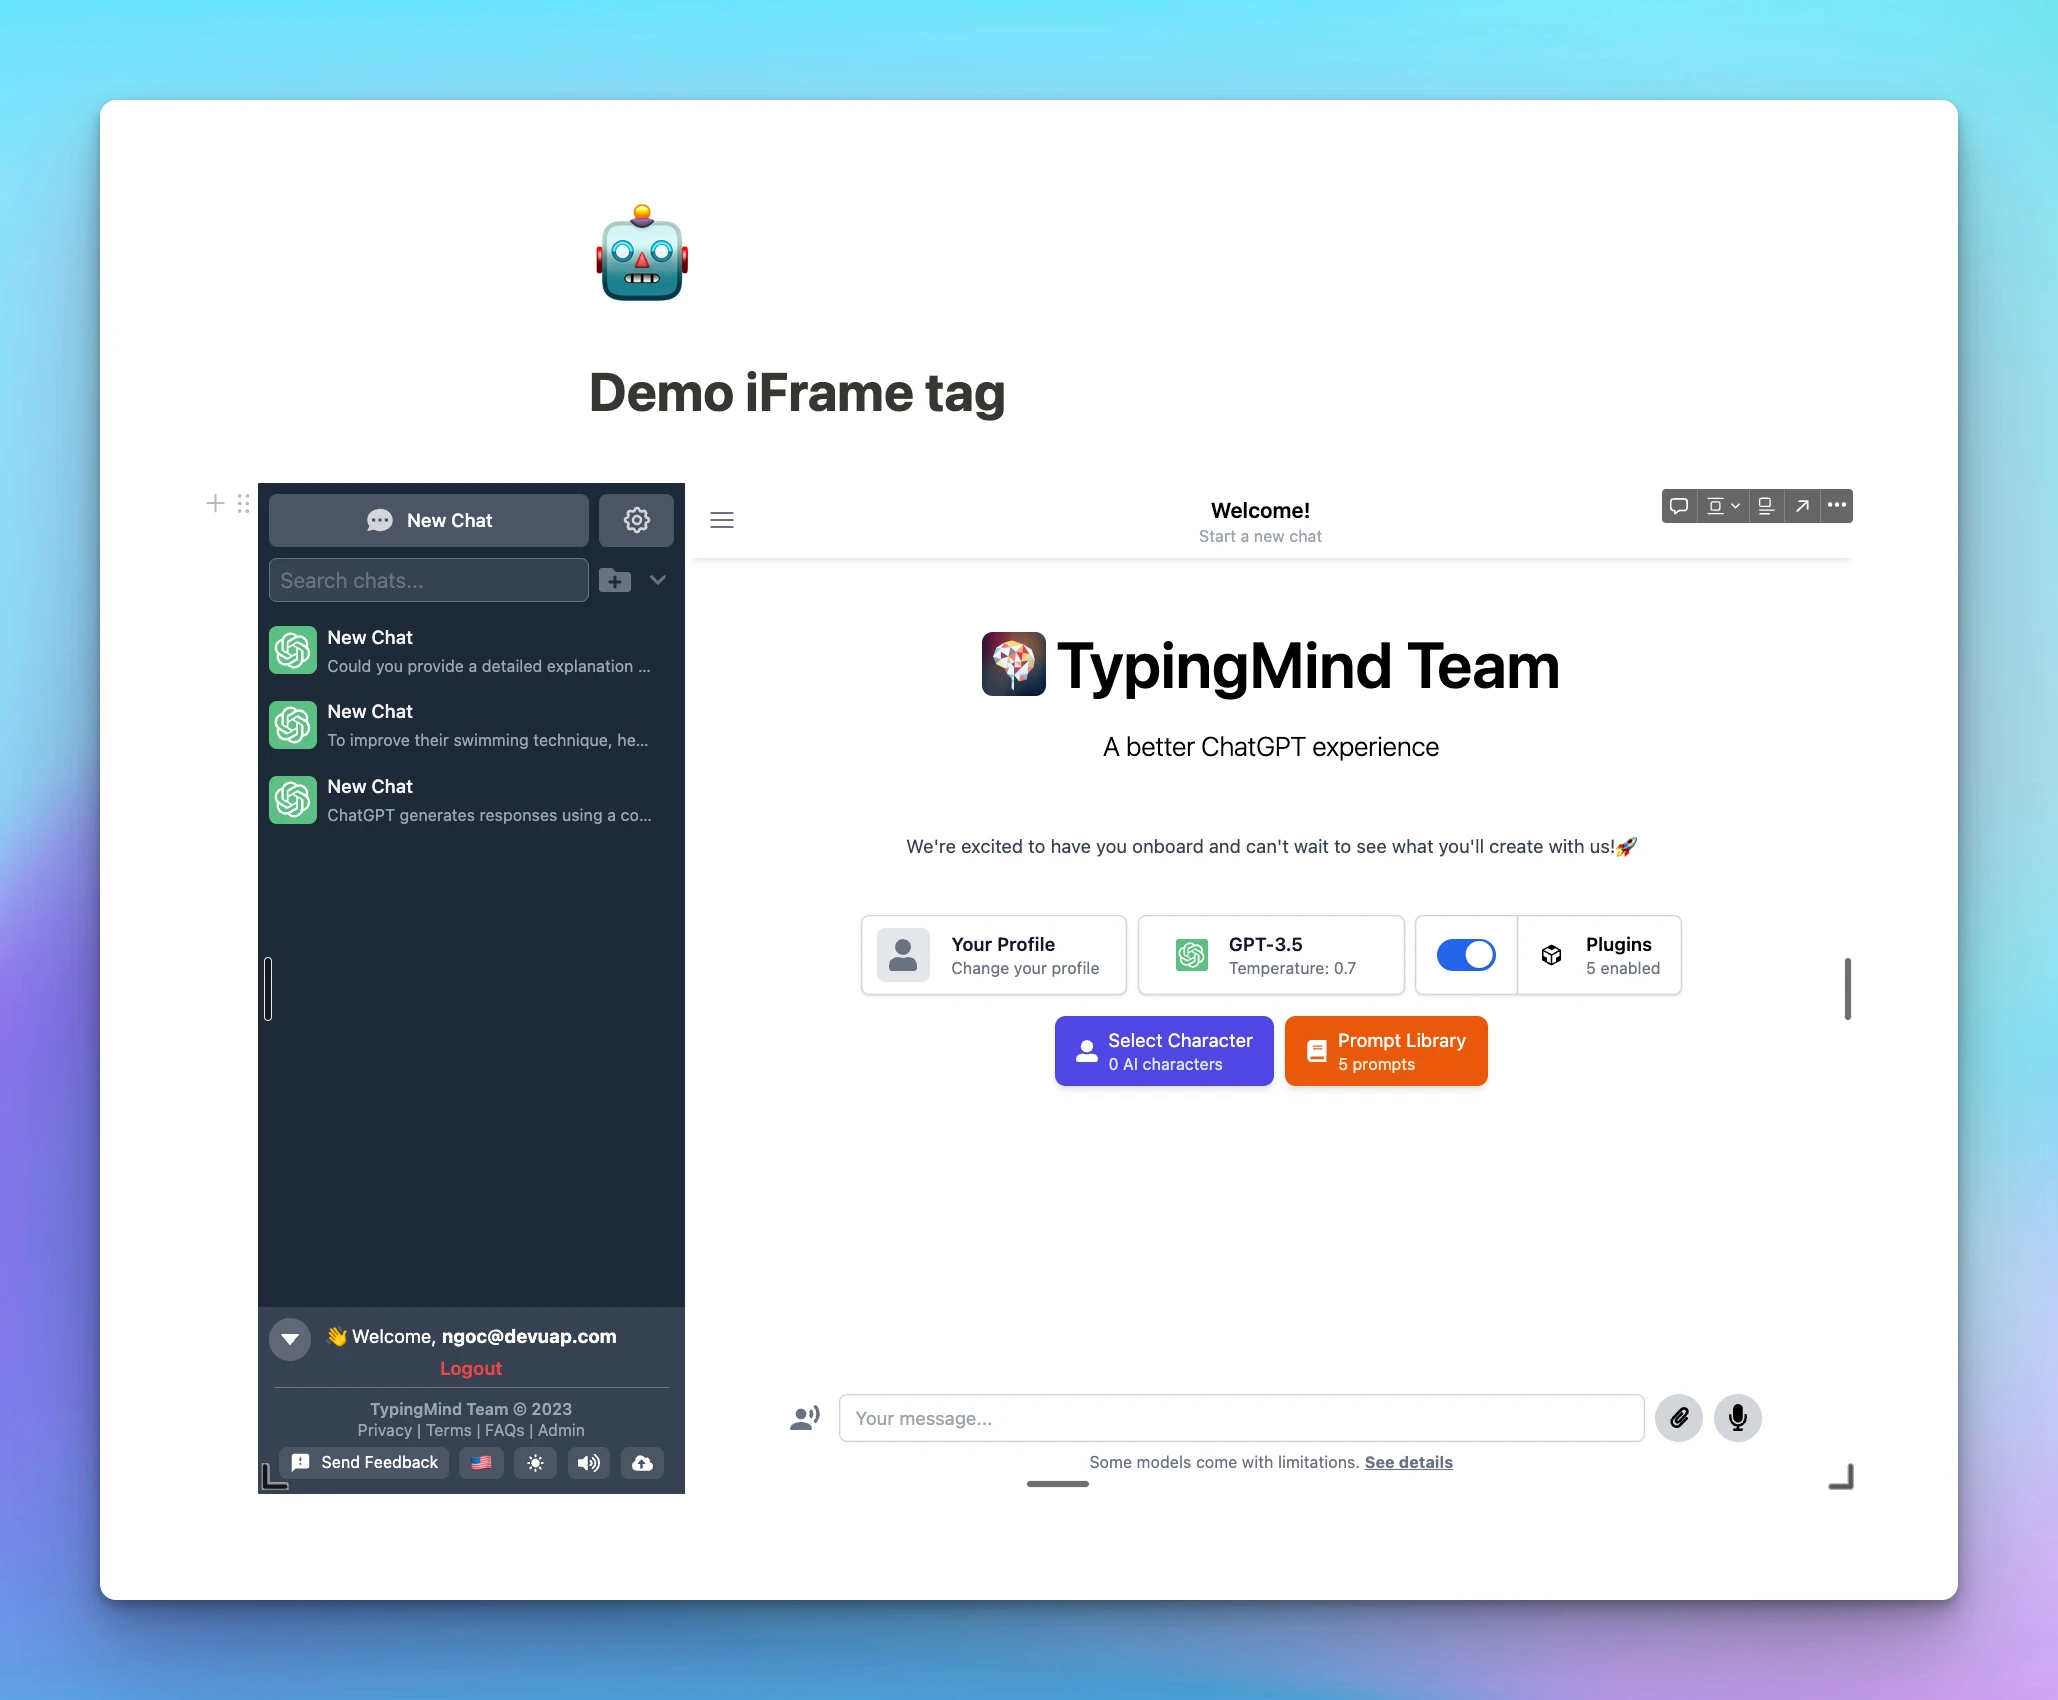
- Embed using an iFrame tag
This helps you embed the chatbot directly into your webpage using an iframe tag. Here's an example code:
<iframe src="https://yourinstanceURL.com/" title="TypingMind"> </iframe>
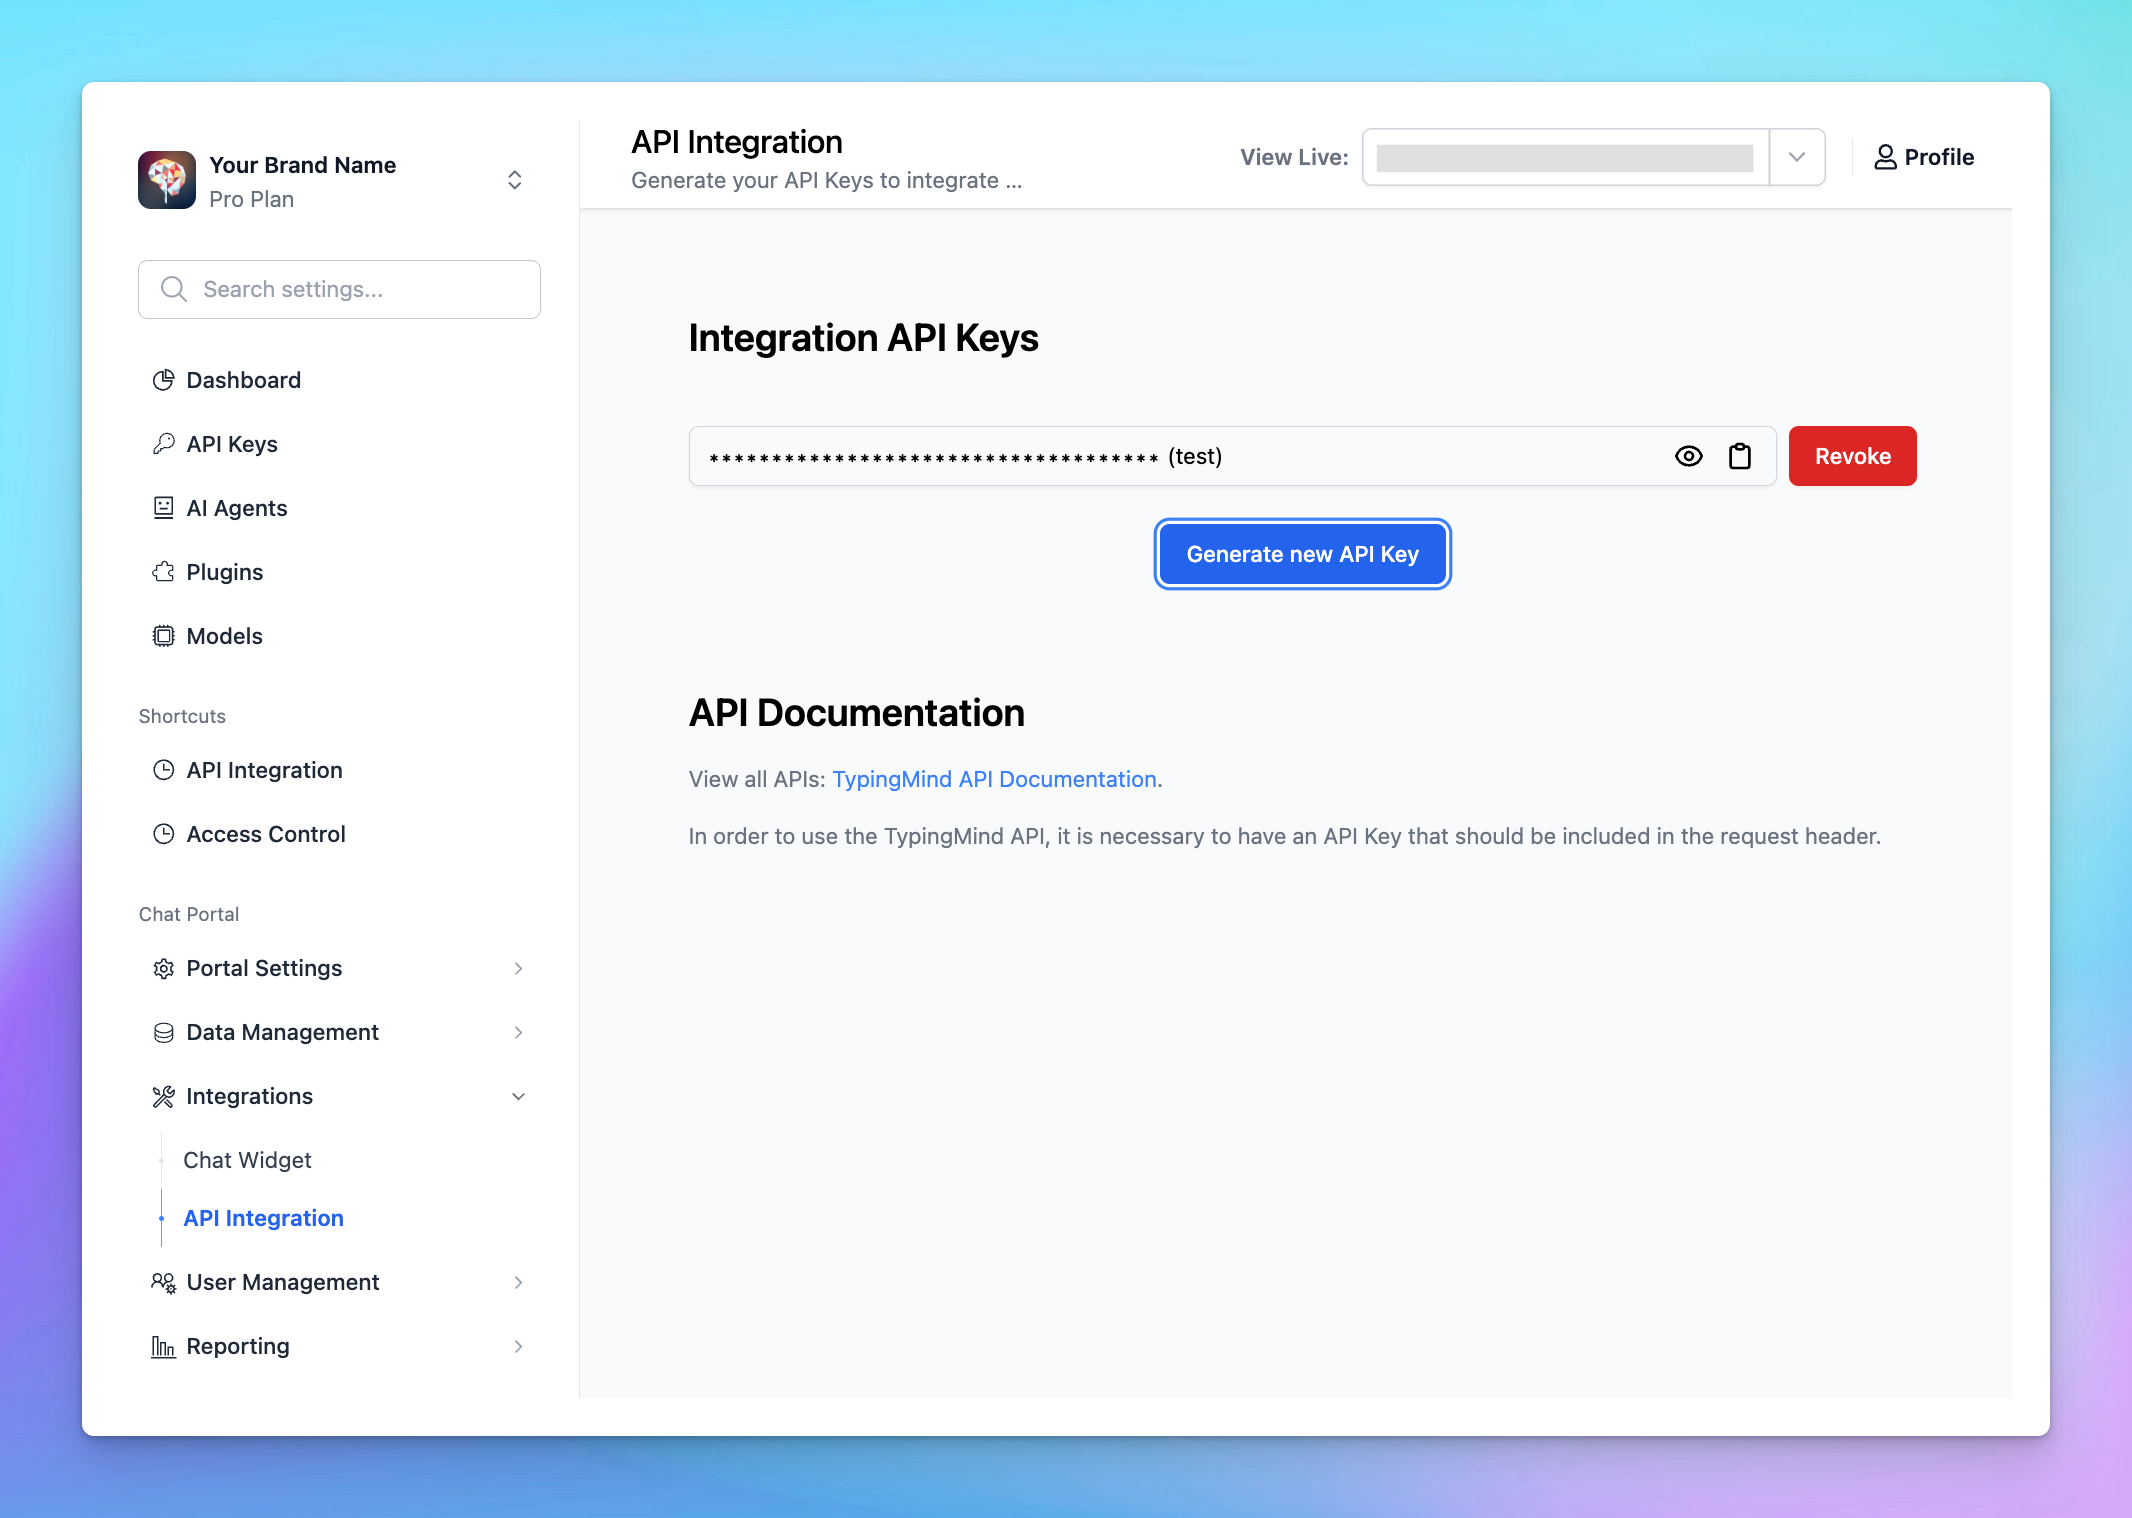
2. Use our API
TypingMind API is a REST API that lets you interact with data in the TypingMind system. It uses JSON-formatted data for requests and responses.
The API allows you to:
- Manage Users: add new users, remove users, update a user detail (like user tags)
- Manage Chats: create a model response for a given chat conversation.
More details here: https://api.typingmind.com/docs
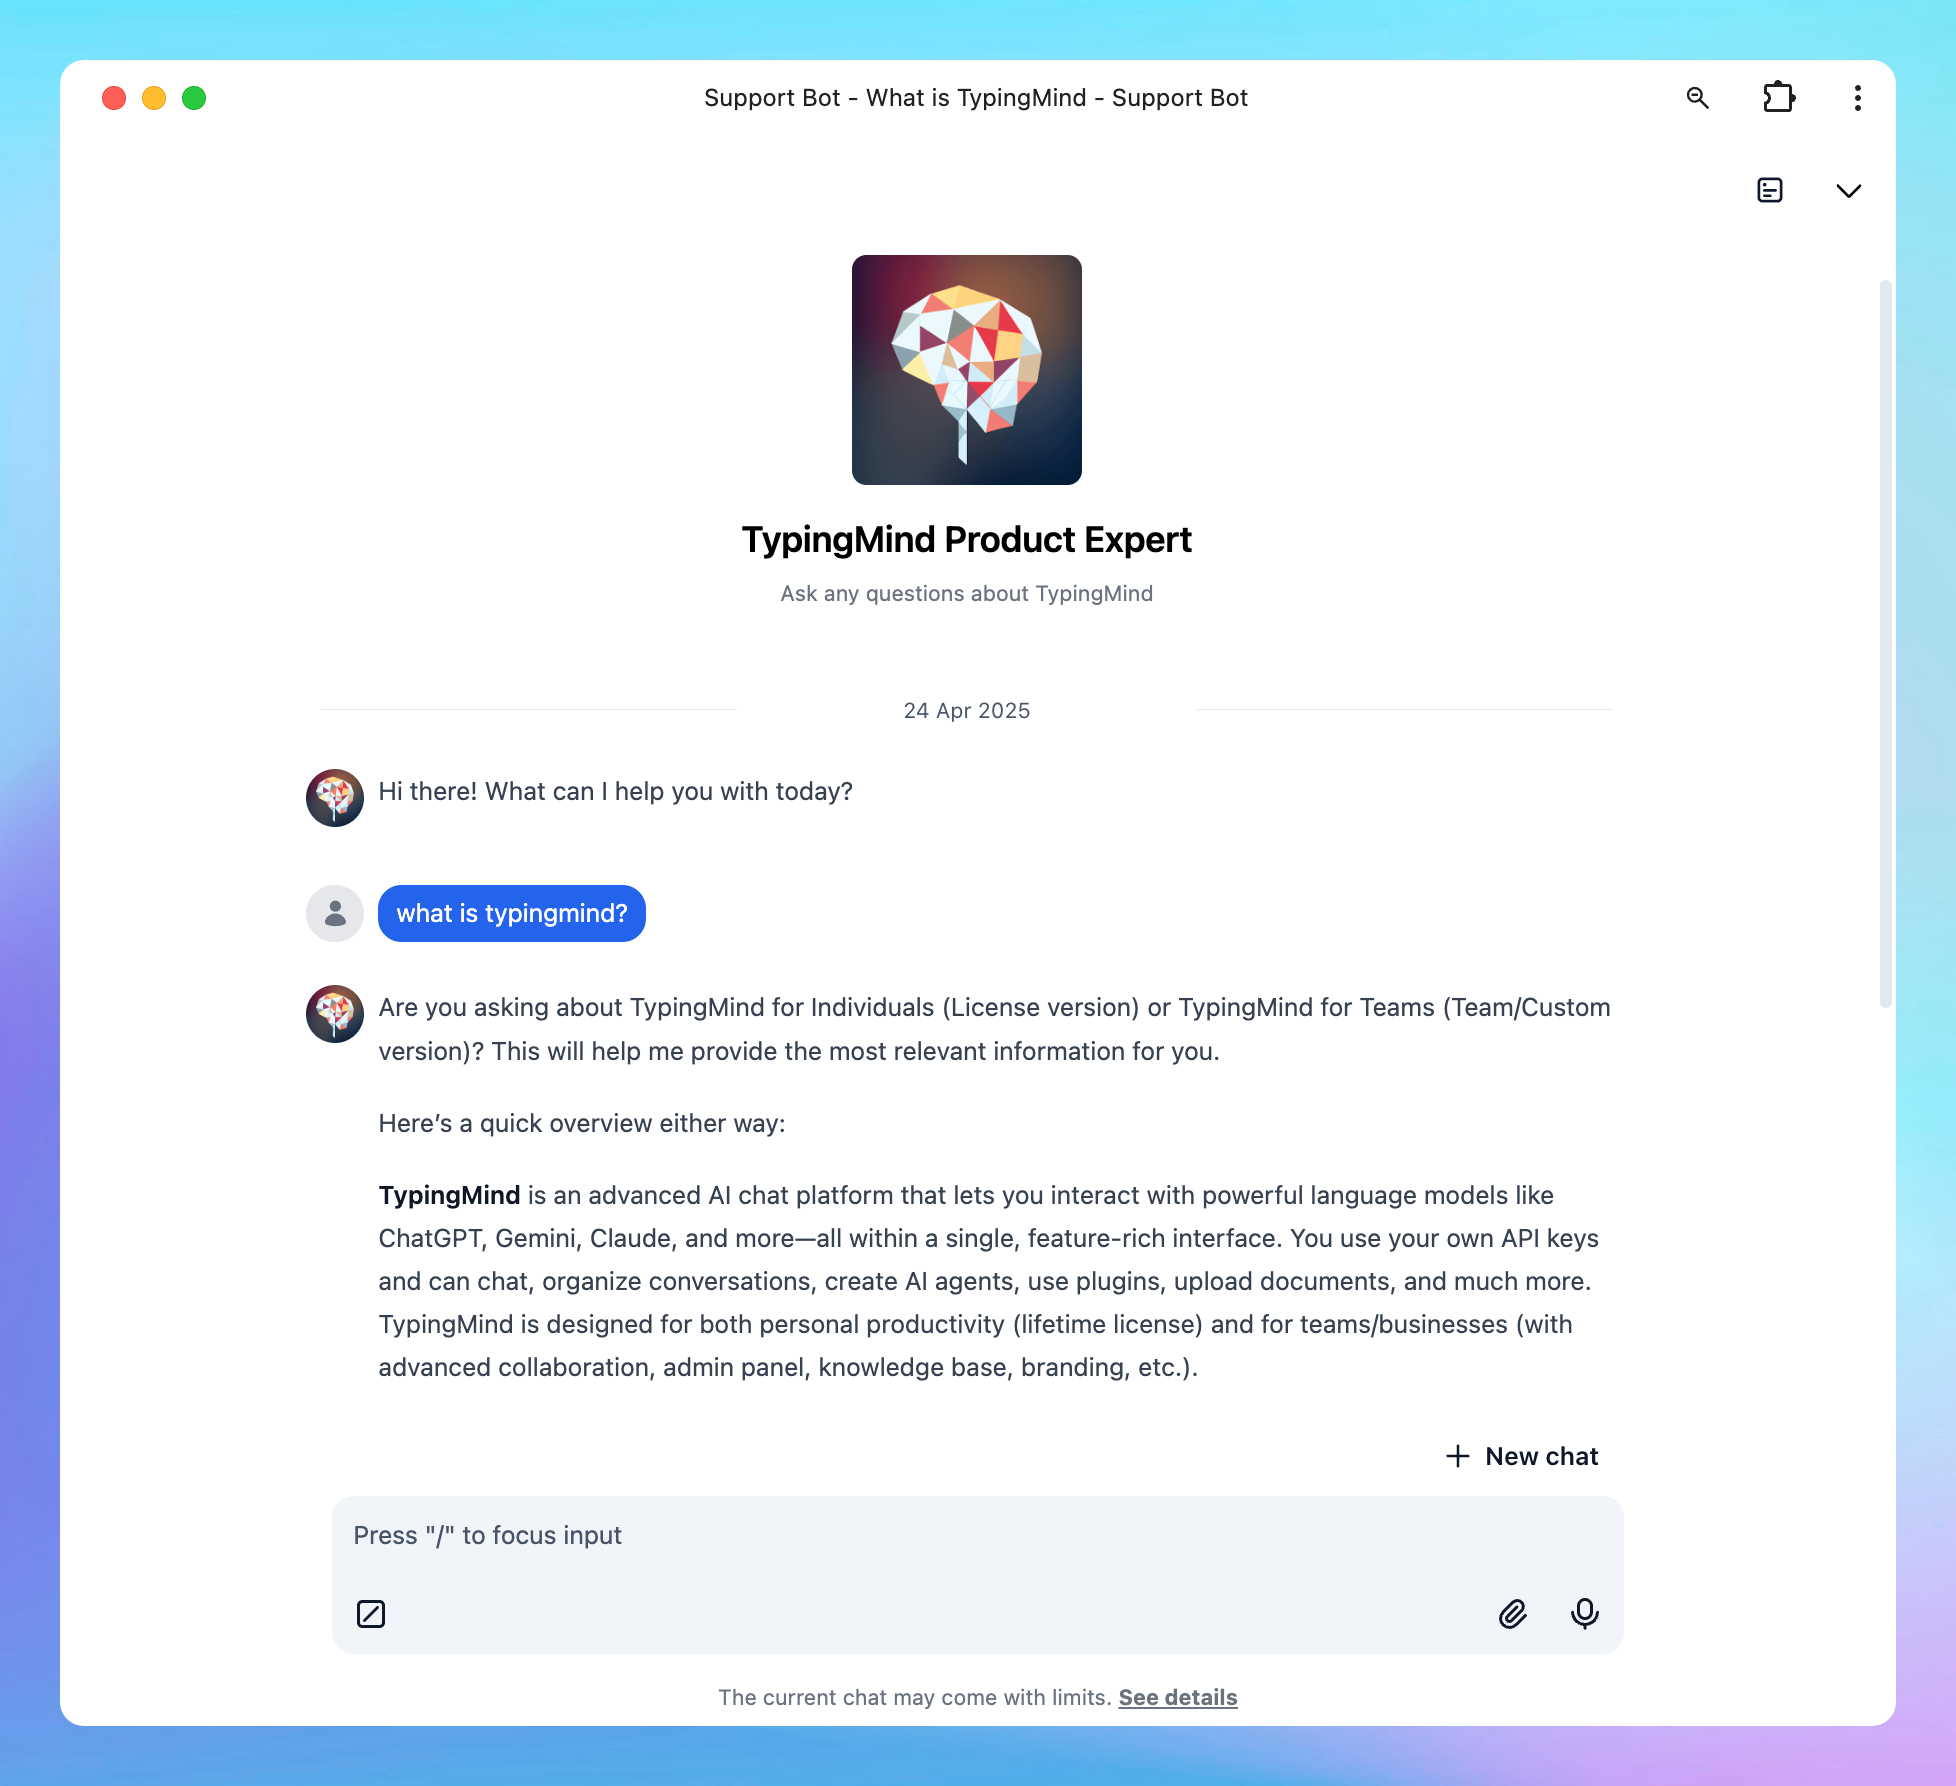
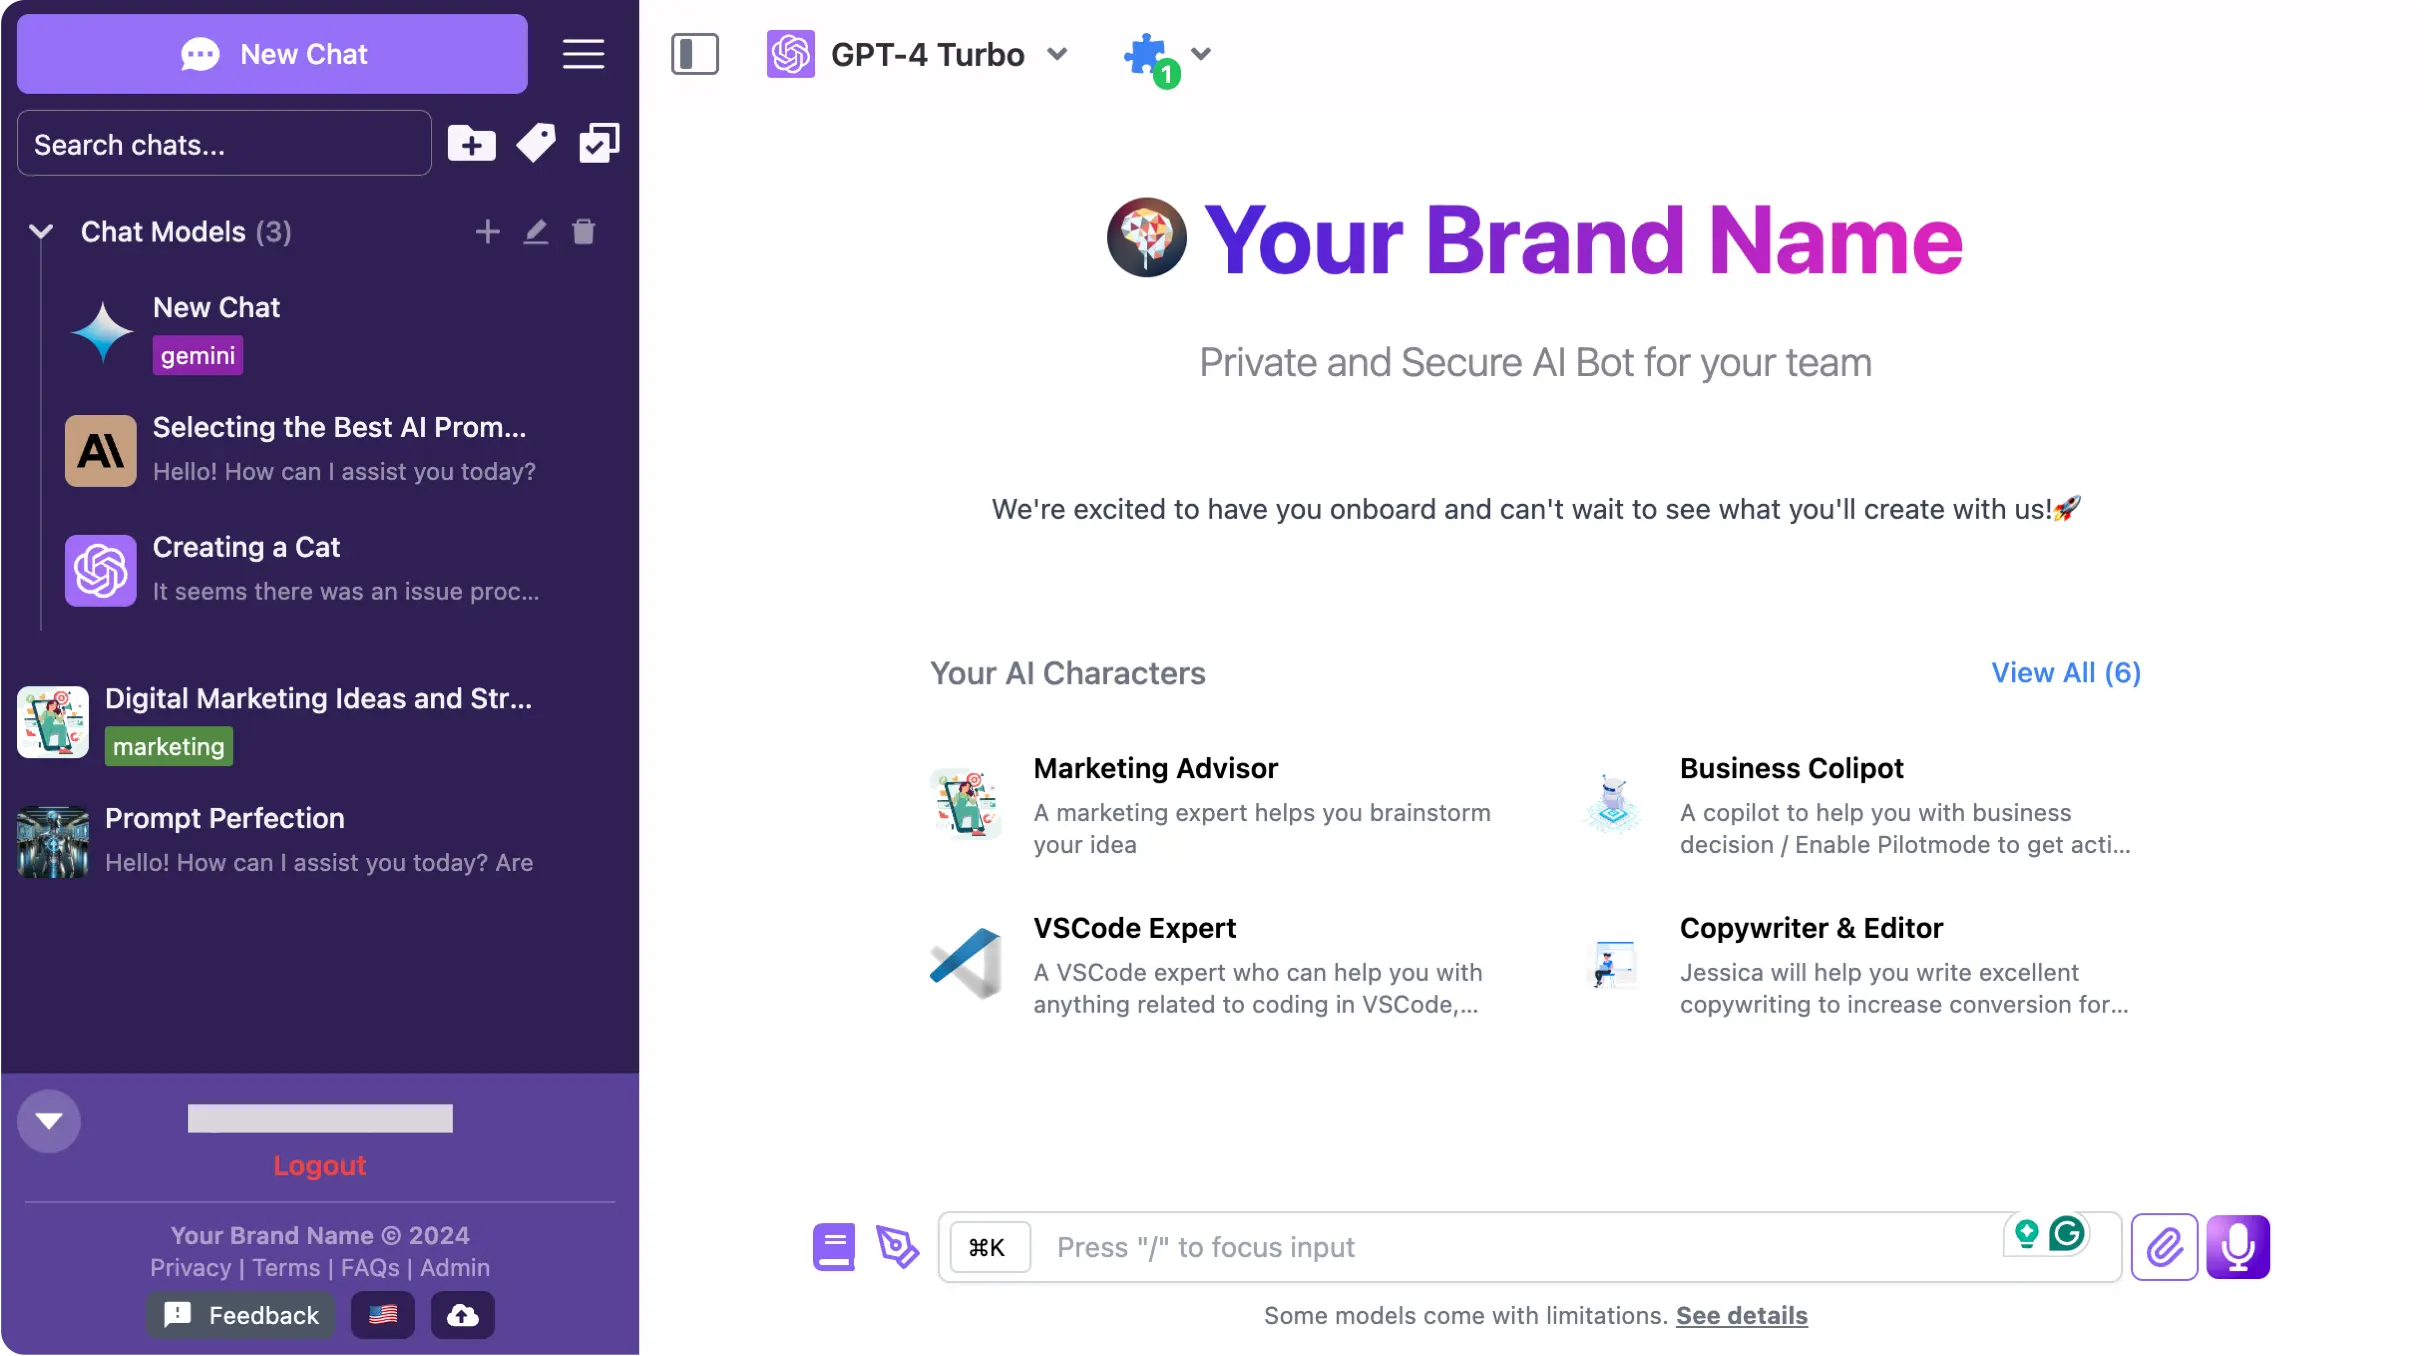
Step 7: Test and monitor your chatbot
1. Test the output quality
- Open the chatbot from the Admin Panel.
- Input queries related to your uploaded documents or connected sources.
- Verify that the responses are accurate and aligned with your knowledge base
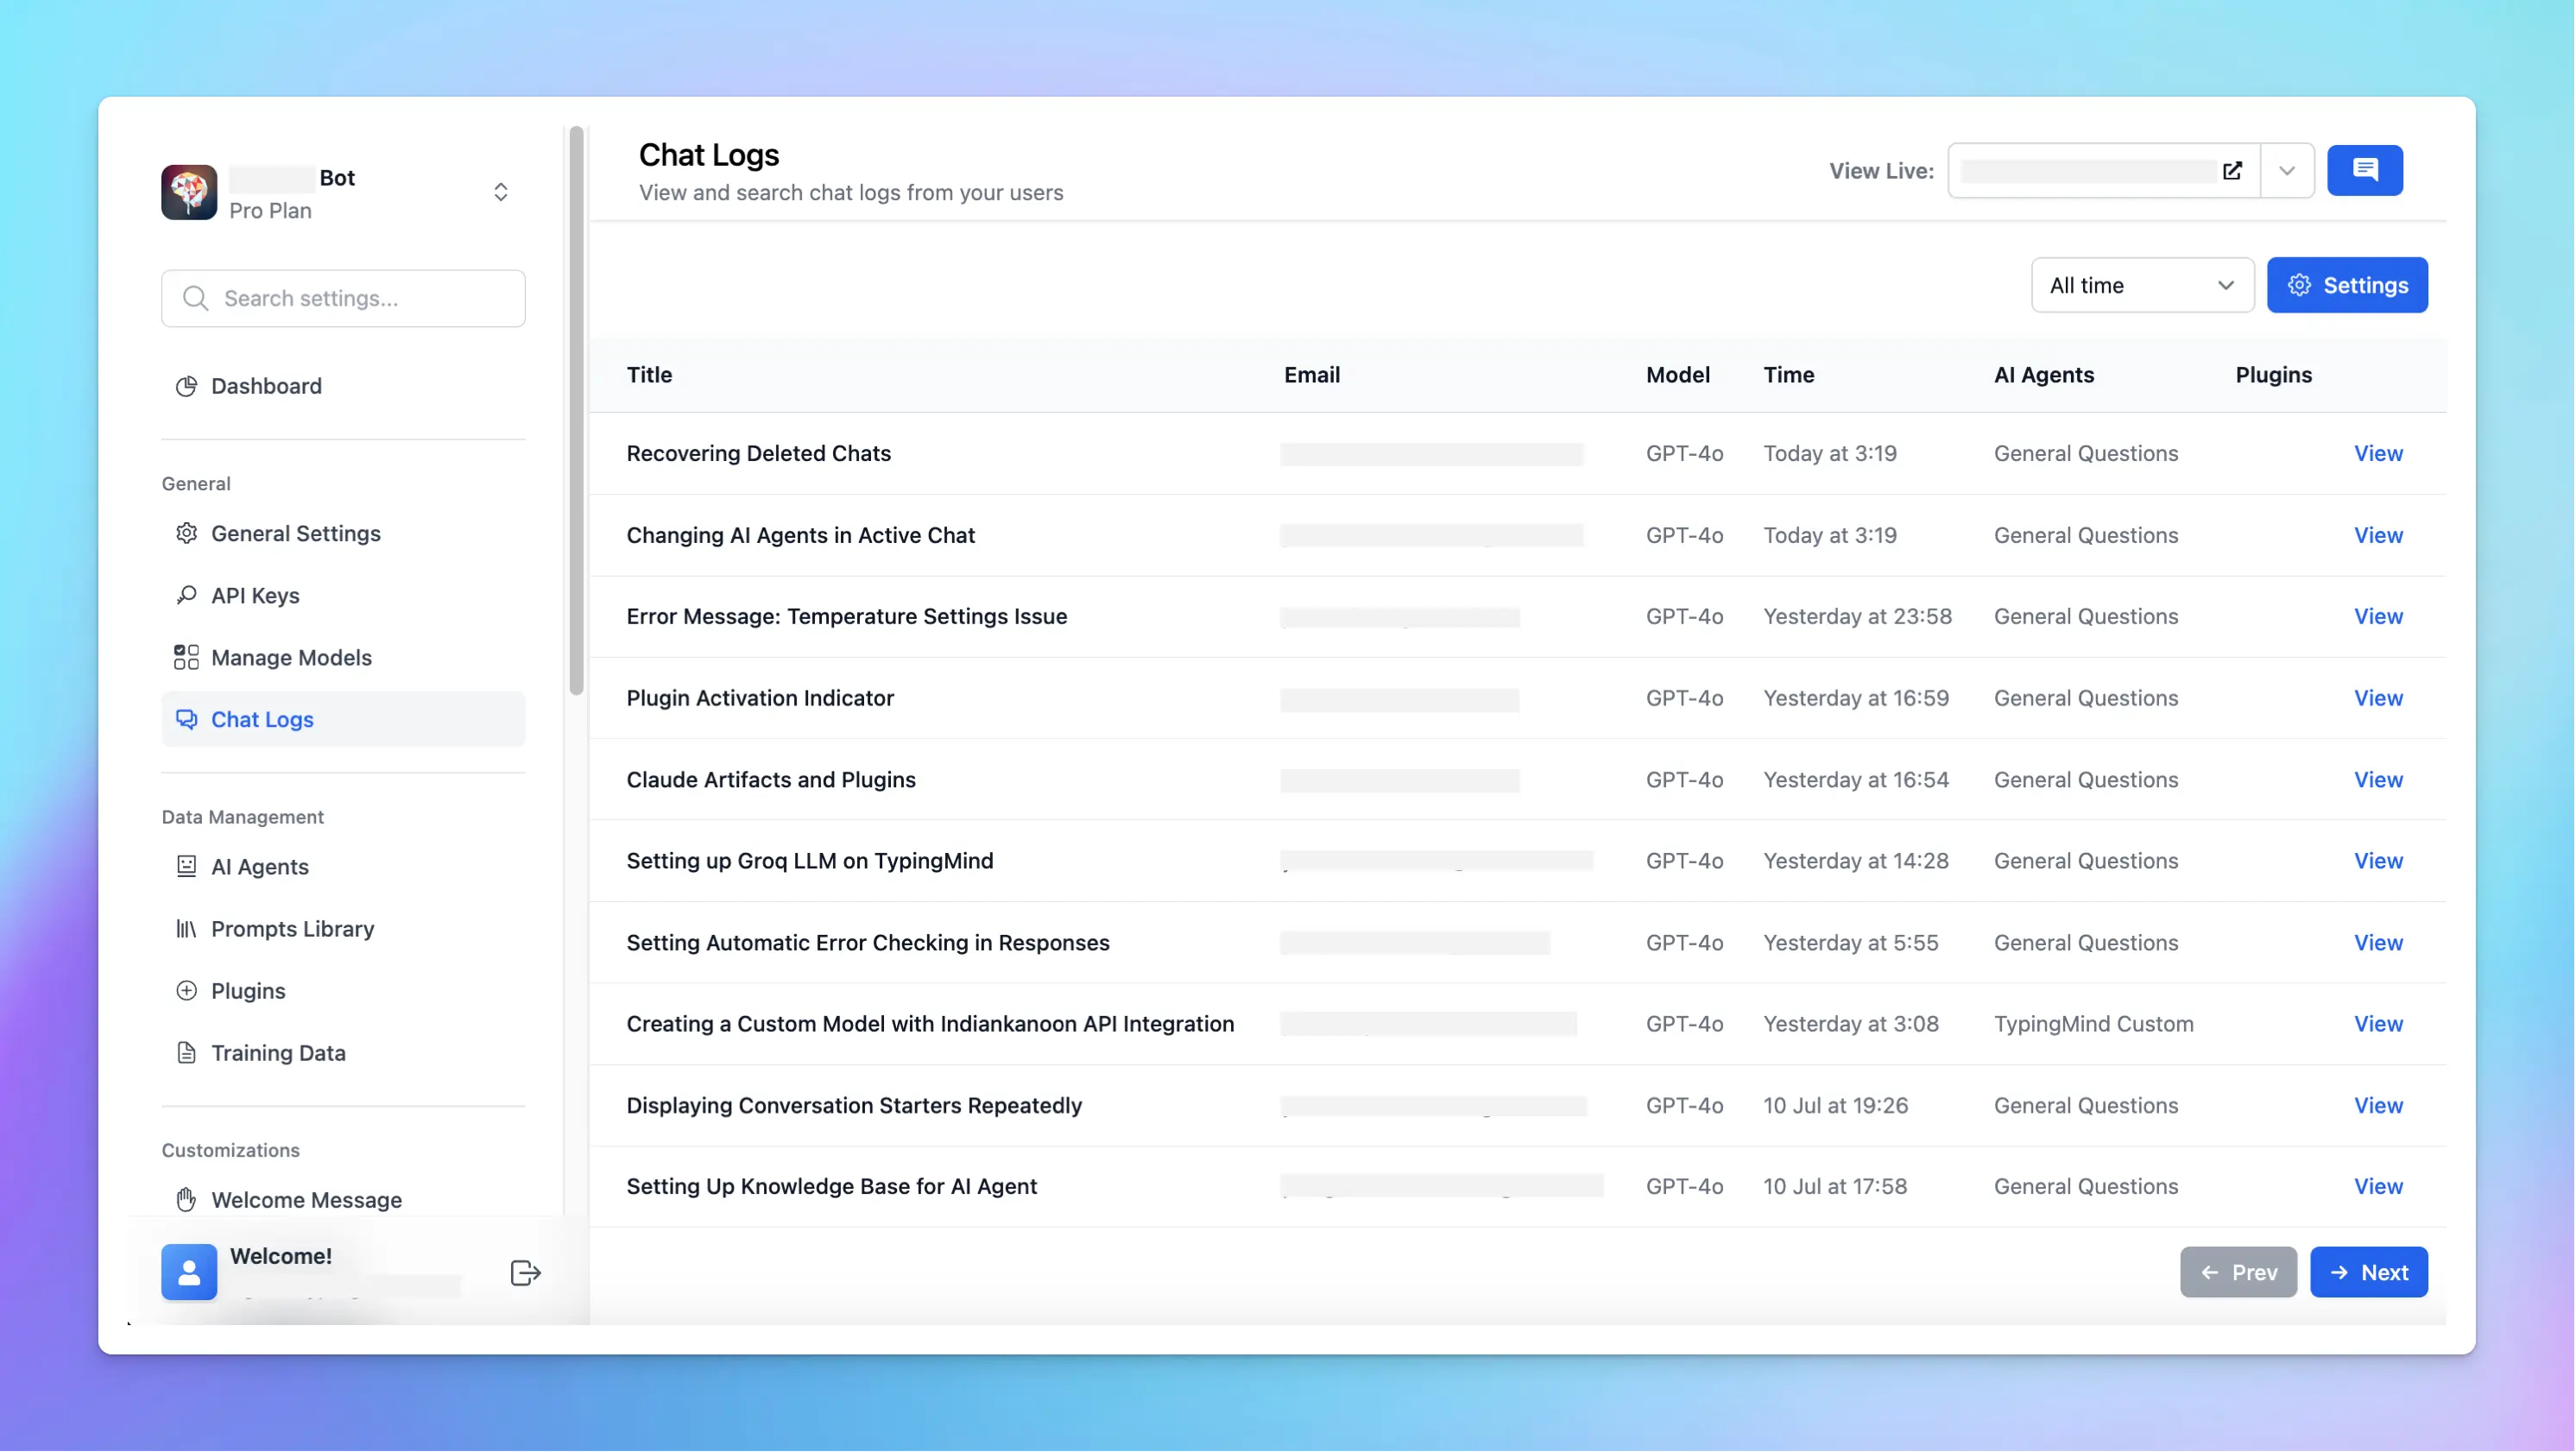
2. Monitor user - AI model interaction
You can also enable Chat Logs to track how members engage with the chatbot. This option allows you to view user chat history to make sure the AI model response as expected and adjust your guidelines accordingly:
- Go to Chat logs under the Reporting section
- Click Settings on the top right corner
- Enable the option “Record all chats from your users”
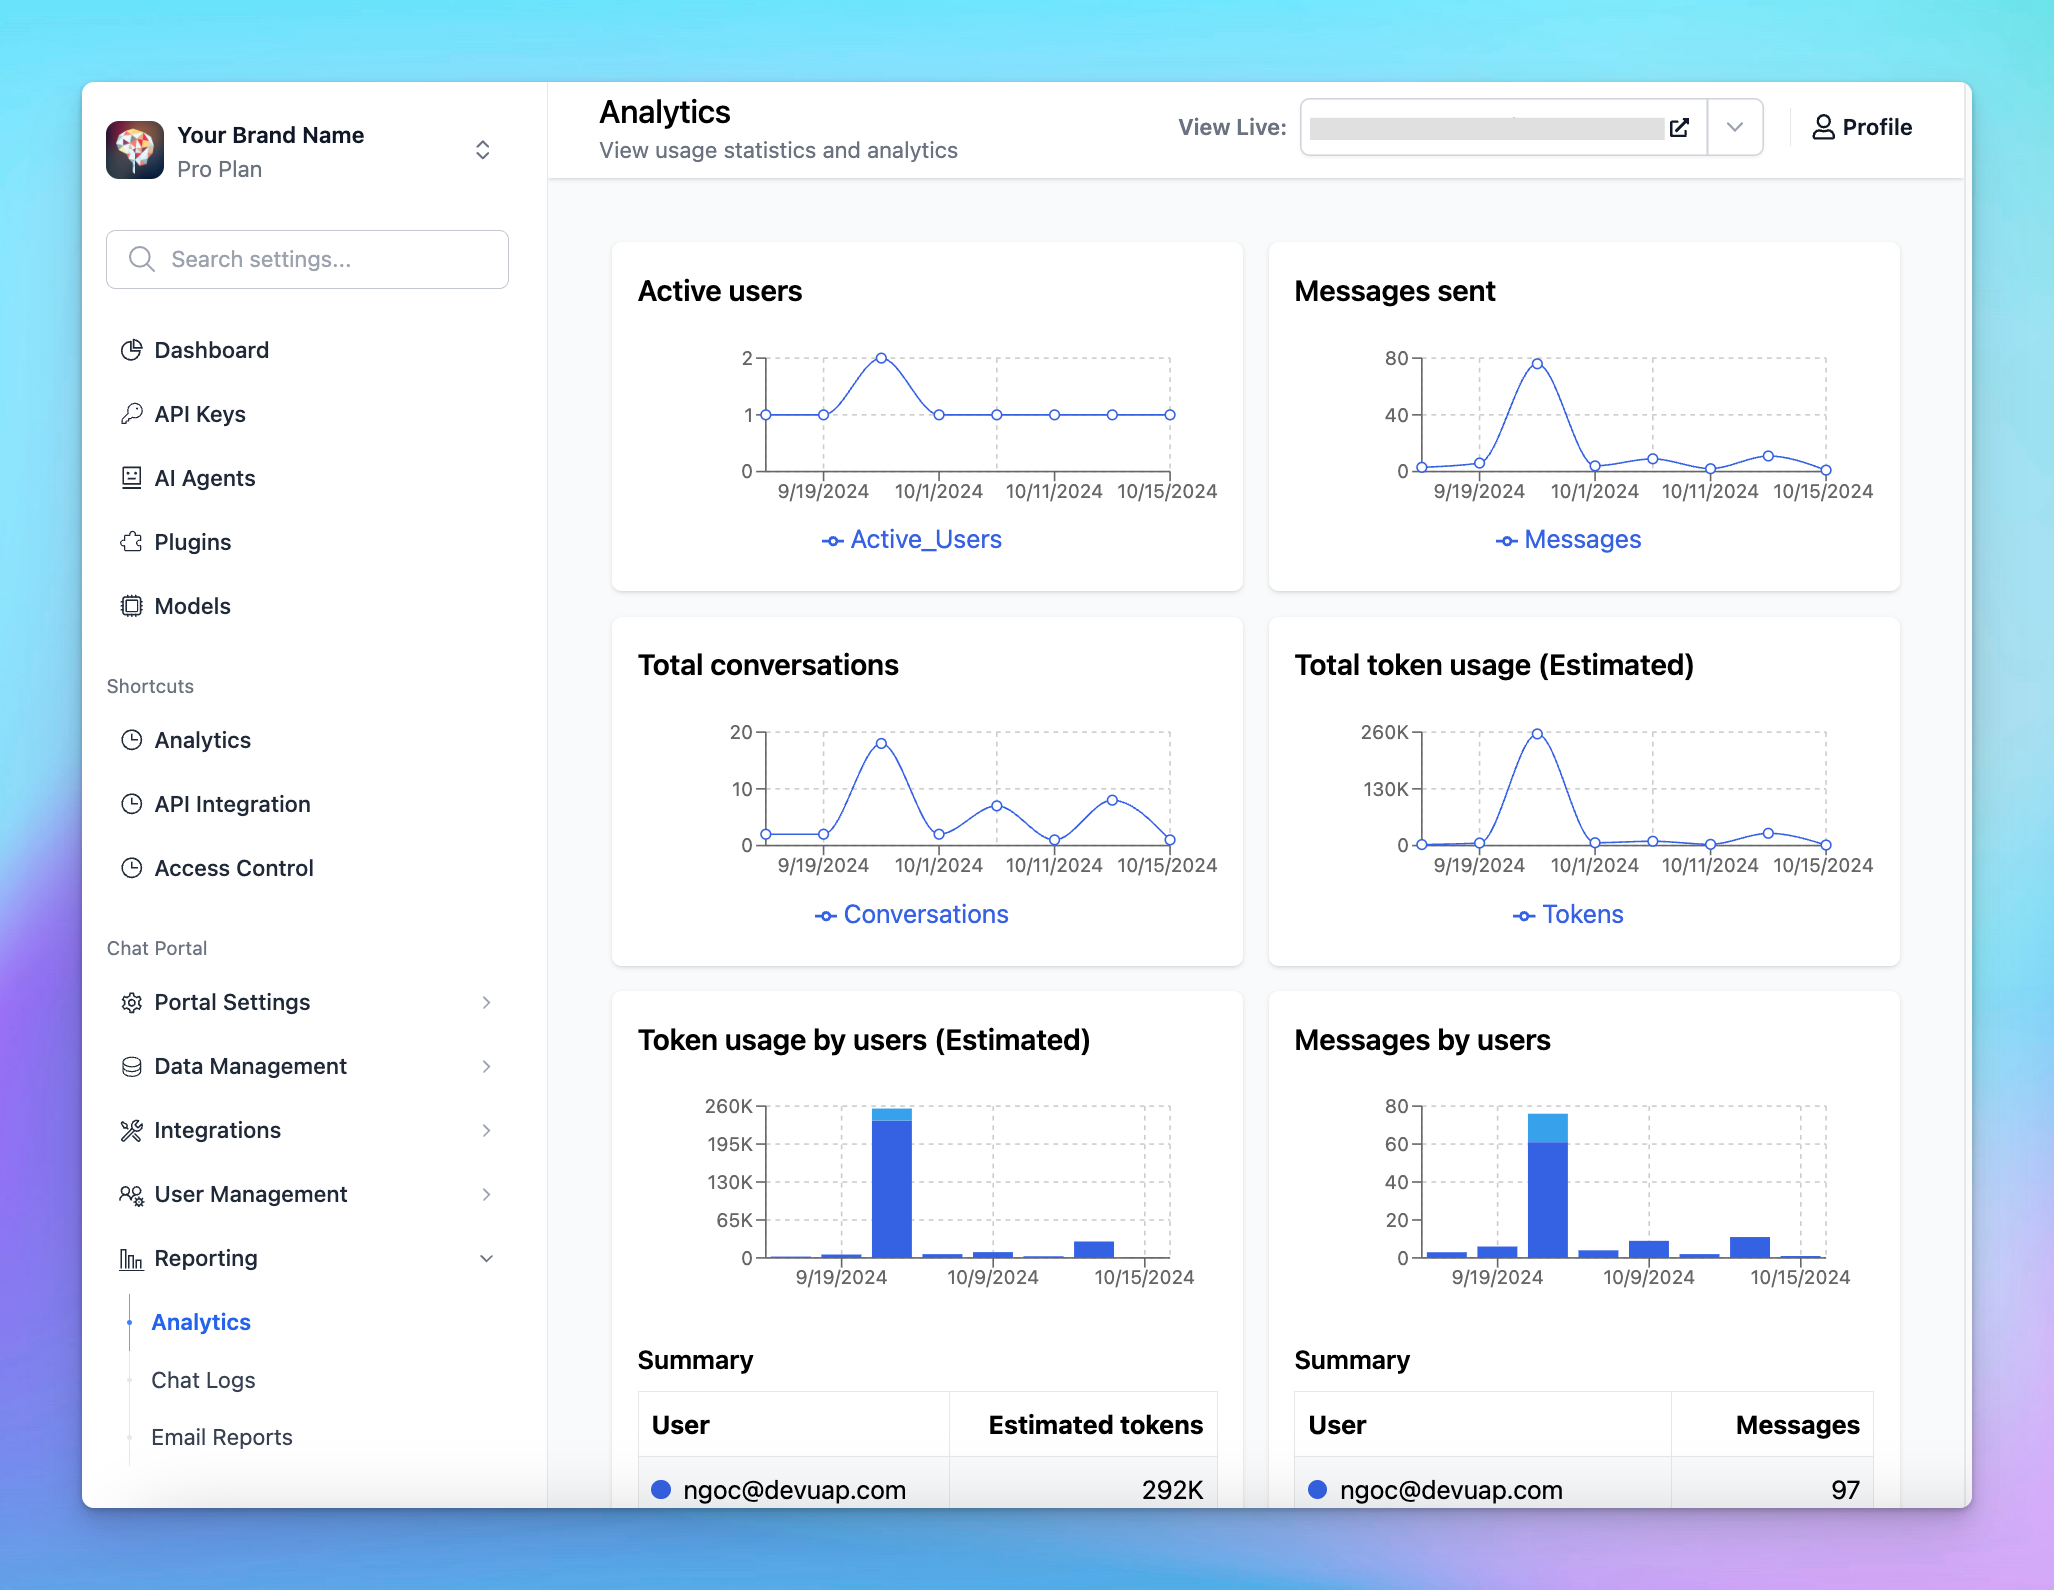
3. Track user usage
- Go to Reporting → Analytics
- Track how many tokens your members have already consumed and which models they are using.